I love budget-friendly seasonal / holiday decor, and today I have some fantastic dollar store finds and DIYs for Fall and Halloween. A few of the pieces are multi-functional... and they are all easy, inexpensive, and super cute. I even created a YouTube video that will allow you to get a closer look at everything!
1) Multi use Book Stack - I found this faux book stack at the dollar store, and I knew I could easily make it a reversable version that would work for Fall AND Halloween.
I covered the existing words with a couple of coats of white chalk paint, and then I added the words "farm fresh pumpkins" that I printed on my Cricut. I added a bit of twine and a yarn pom pom pumpkin. Cute, right?
Then, I flipped around the book stack and added the words "spells and potions", which I cut out with my Cricut. I finished by sliding the twine to the opposite side, and adding a dollar store LED light.
2) Pumpkin with a gold stem - I love all the different styles of pumpkins that you can buy at the dollar store, but the one with the gold stem really caught my eye.
I also thought it would fun to give the orange pumpkin a "glam" Halloween makeover. I painted it with black paint from the dollar store (2 coats). Then, I used dollar store metallic gold paint to add polka dots. Didn't it turn out great?
It looks super-cute with the irridescent vase (from the dollar store) and a print I designed in a dollar store vase. You can download a FREE copy of the "Hello Pumpkin" printhere.
3) Simple seasonal soap - I think this idea is genius. Peel the label from a dollar store soap dispenser, and add a seasonal window cling. It's simple, but looks great!
4) Seasonal candles - Window clings can also add a seasonal flair to candles... in just a few seconds.
They stick easily to most surfaces, but you could use a bit of glue if you want them extra secure.
5) Inexpensive wall hangings - You can also make inexpensive wall hangings with dollar store window clings and stickers.
6) Front door wreath - I made this adorable floral decor for my front door using a dollar store bucket and dollar store sunflowers.
I used my Cricut to apply a design to the front of the bucket, I inserted a piece of floral foam, and I added the flowers (one at a time). I absolutely LOVE how it turned out... and it's easy to switch out the flowers for various seasons.
For a closer look at all these dollar store finds and DIYs, check out the YouTube video below.
Which of these projects is your favourite? I think mine is the book stack because it can be used for Fall AND Halloween. I love anytime I can save money, time, and storage space.
I love simple seasonal decor... and these ideas are budget-friendly, easy, and super cute. They all look high end, and no one would ever guess they came from the dollar store. You are going to LOVE these dollar storeFALL DIYs!
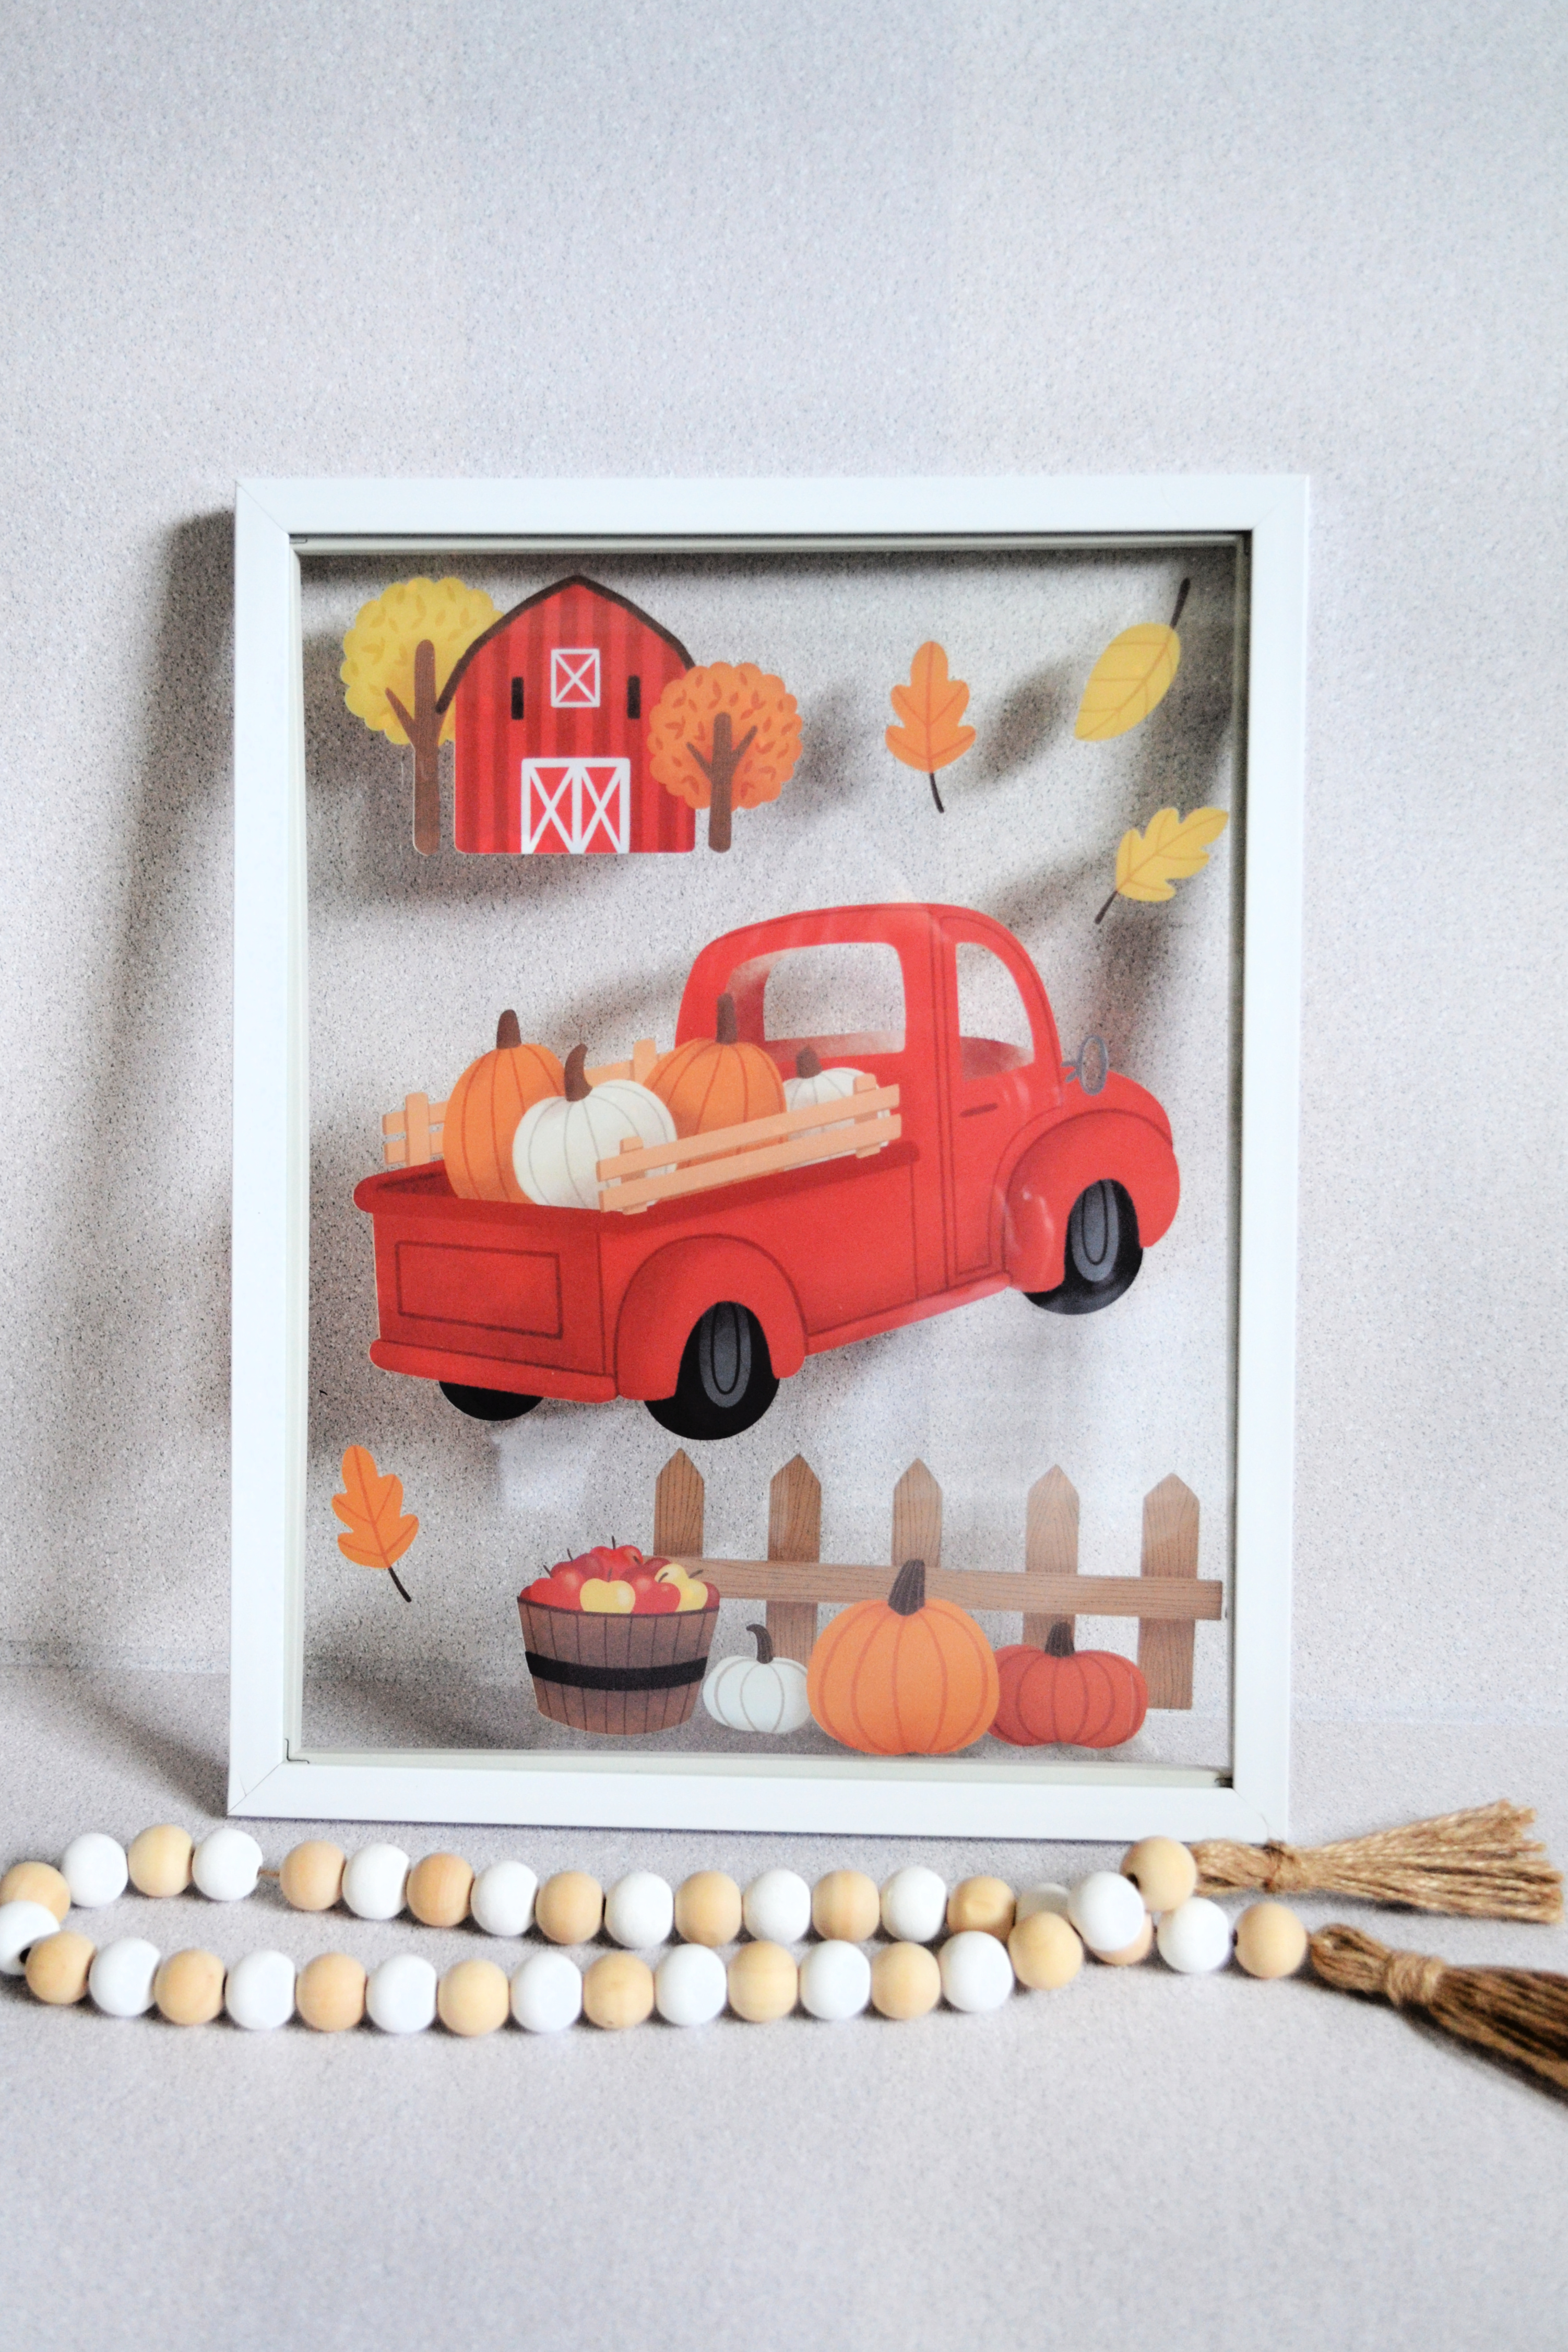
The inspiration for these projects came from these adorable Dollarama window clings I found a couple of weeks ago. I absolutely love them!
The red truck was my favourite, and I knew it would make an adorable piece of Fall artwork. I picked up this floating glass from at the dollar store, arranged the window clings between the two pieces of glass, and put the frame back together.
Didn't it turn out cute?!?!
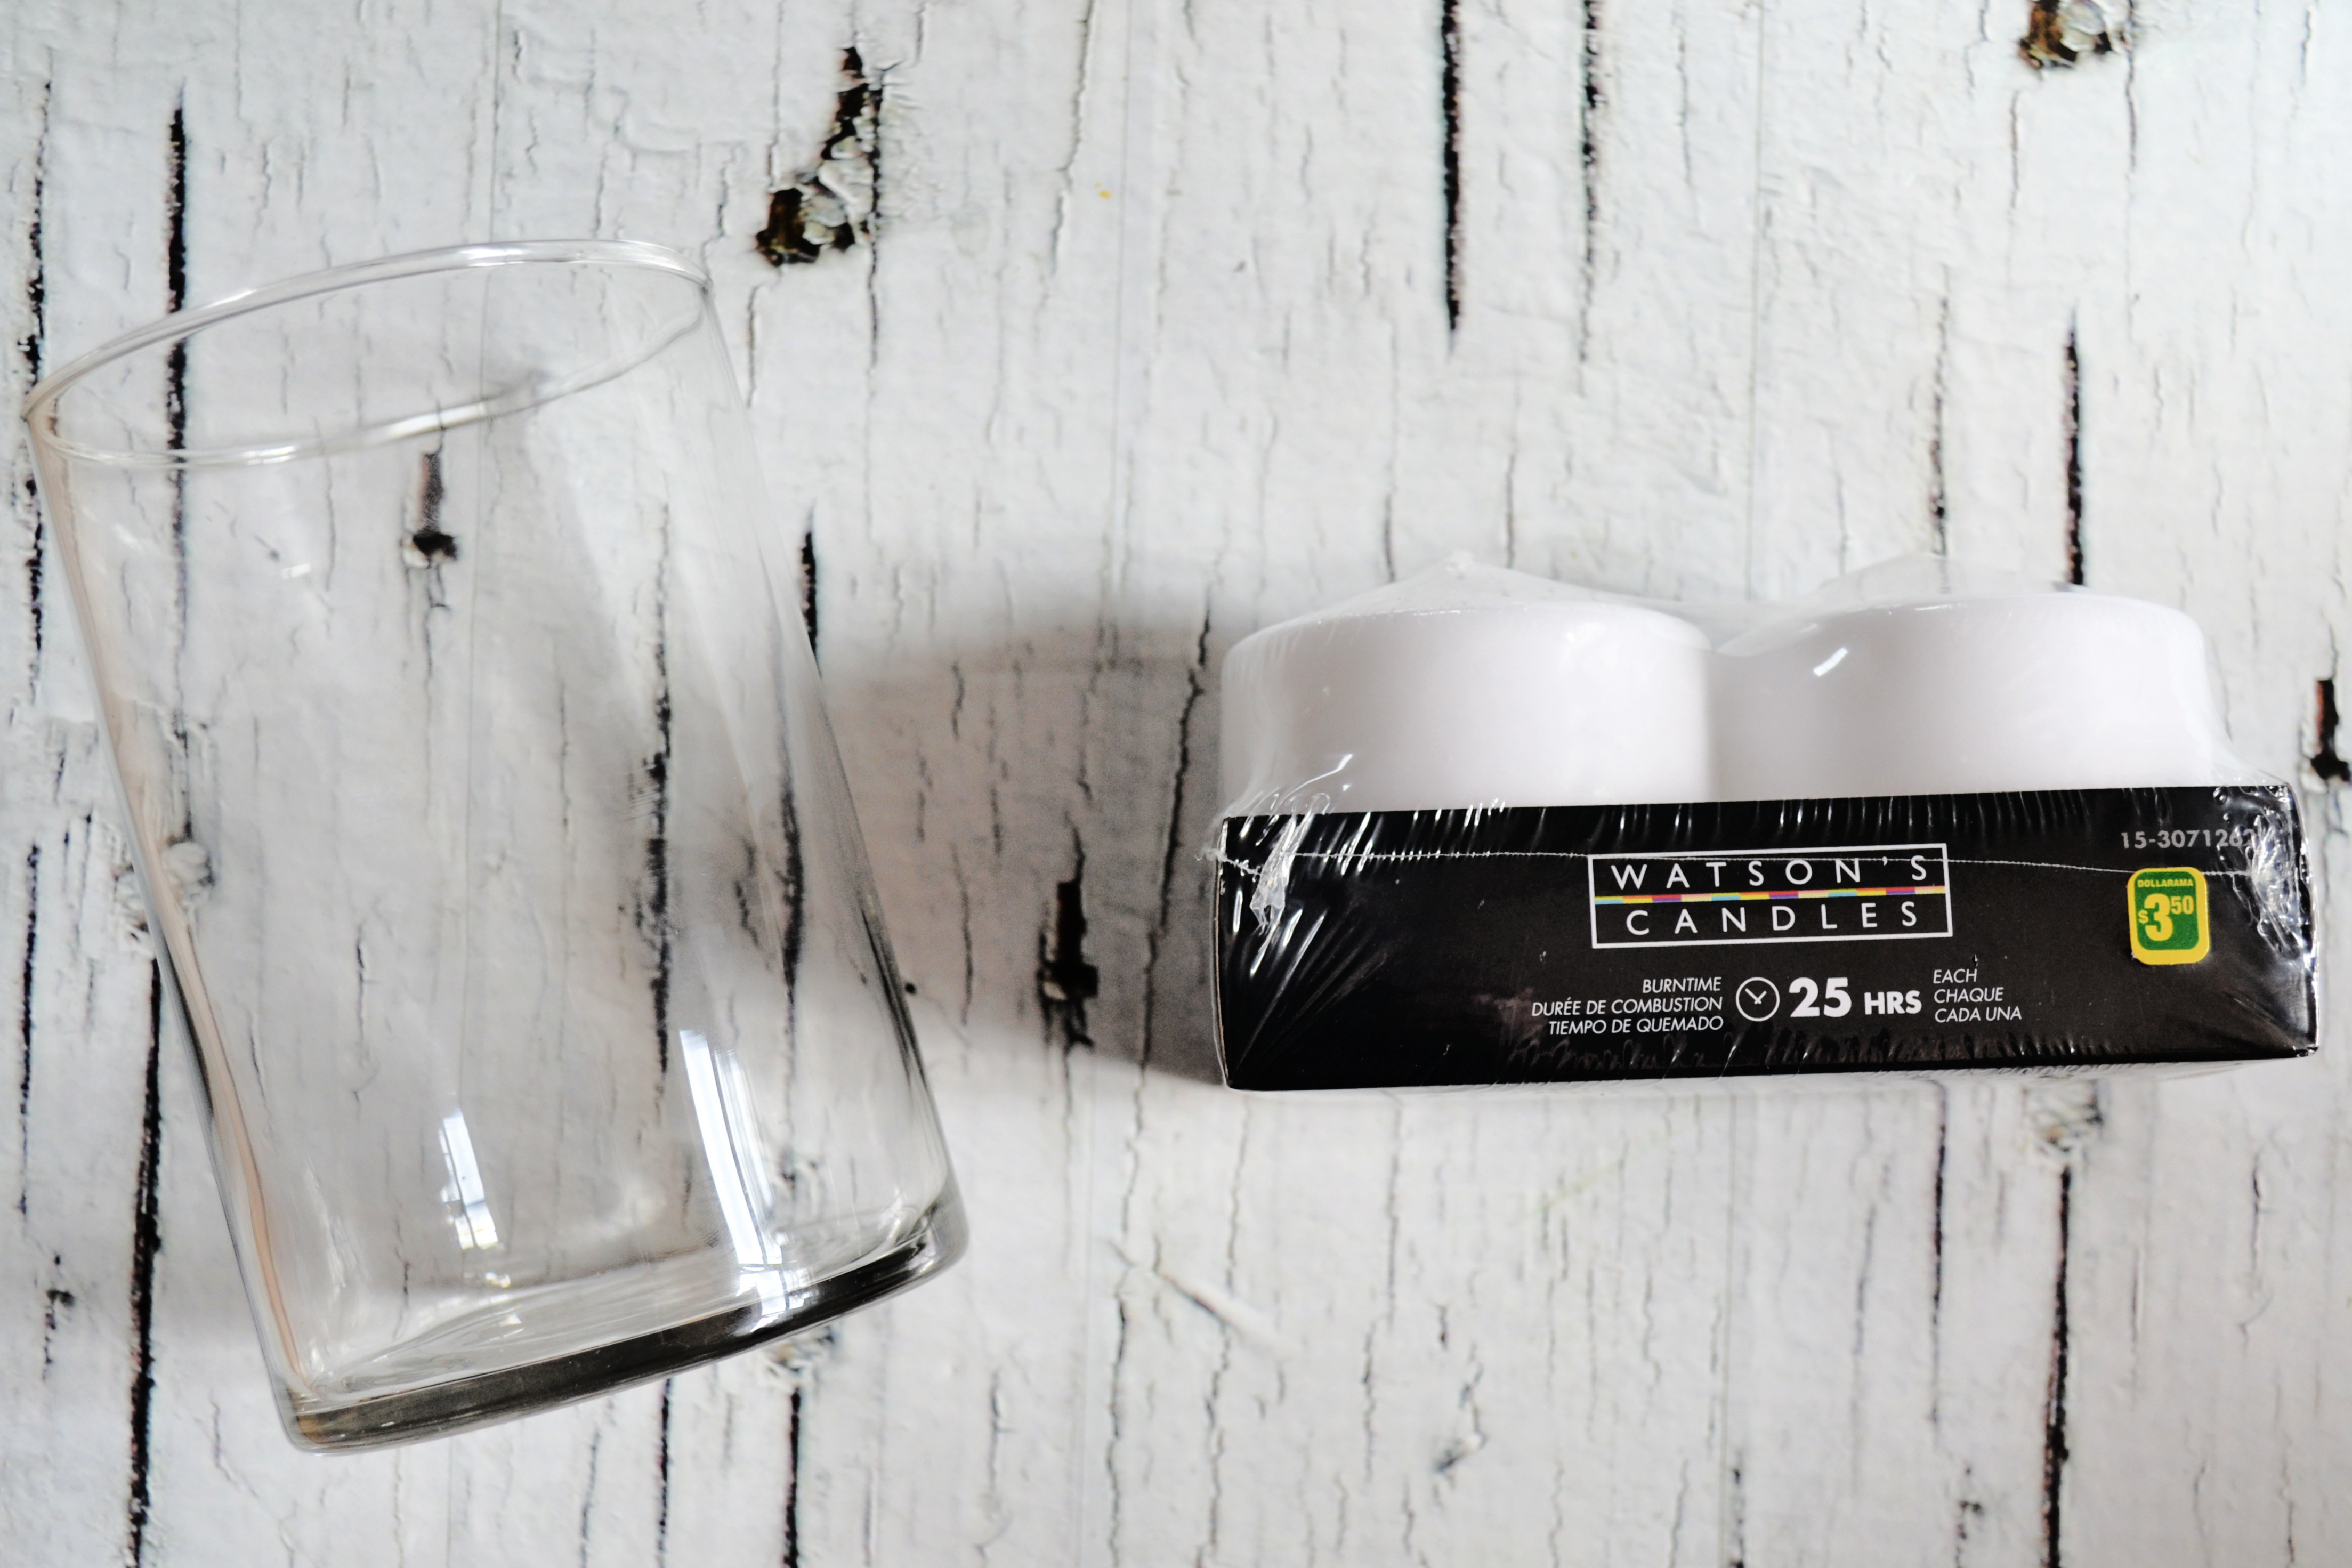
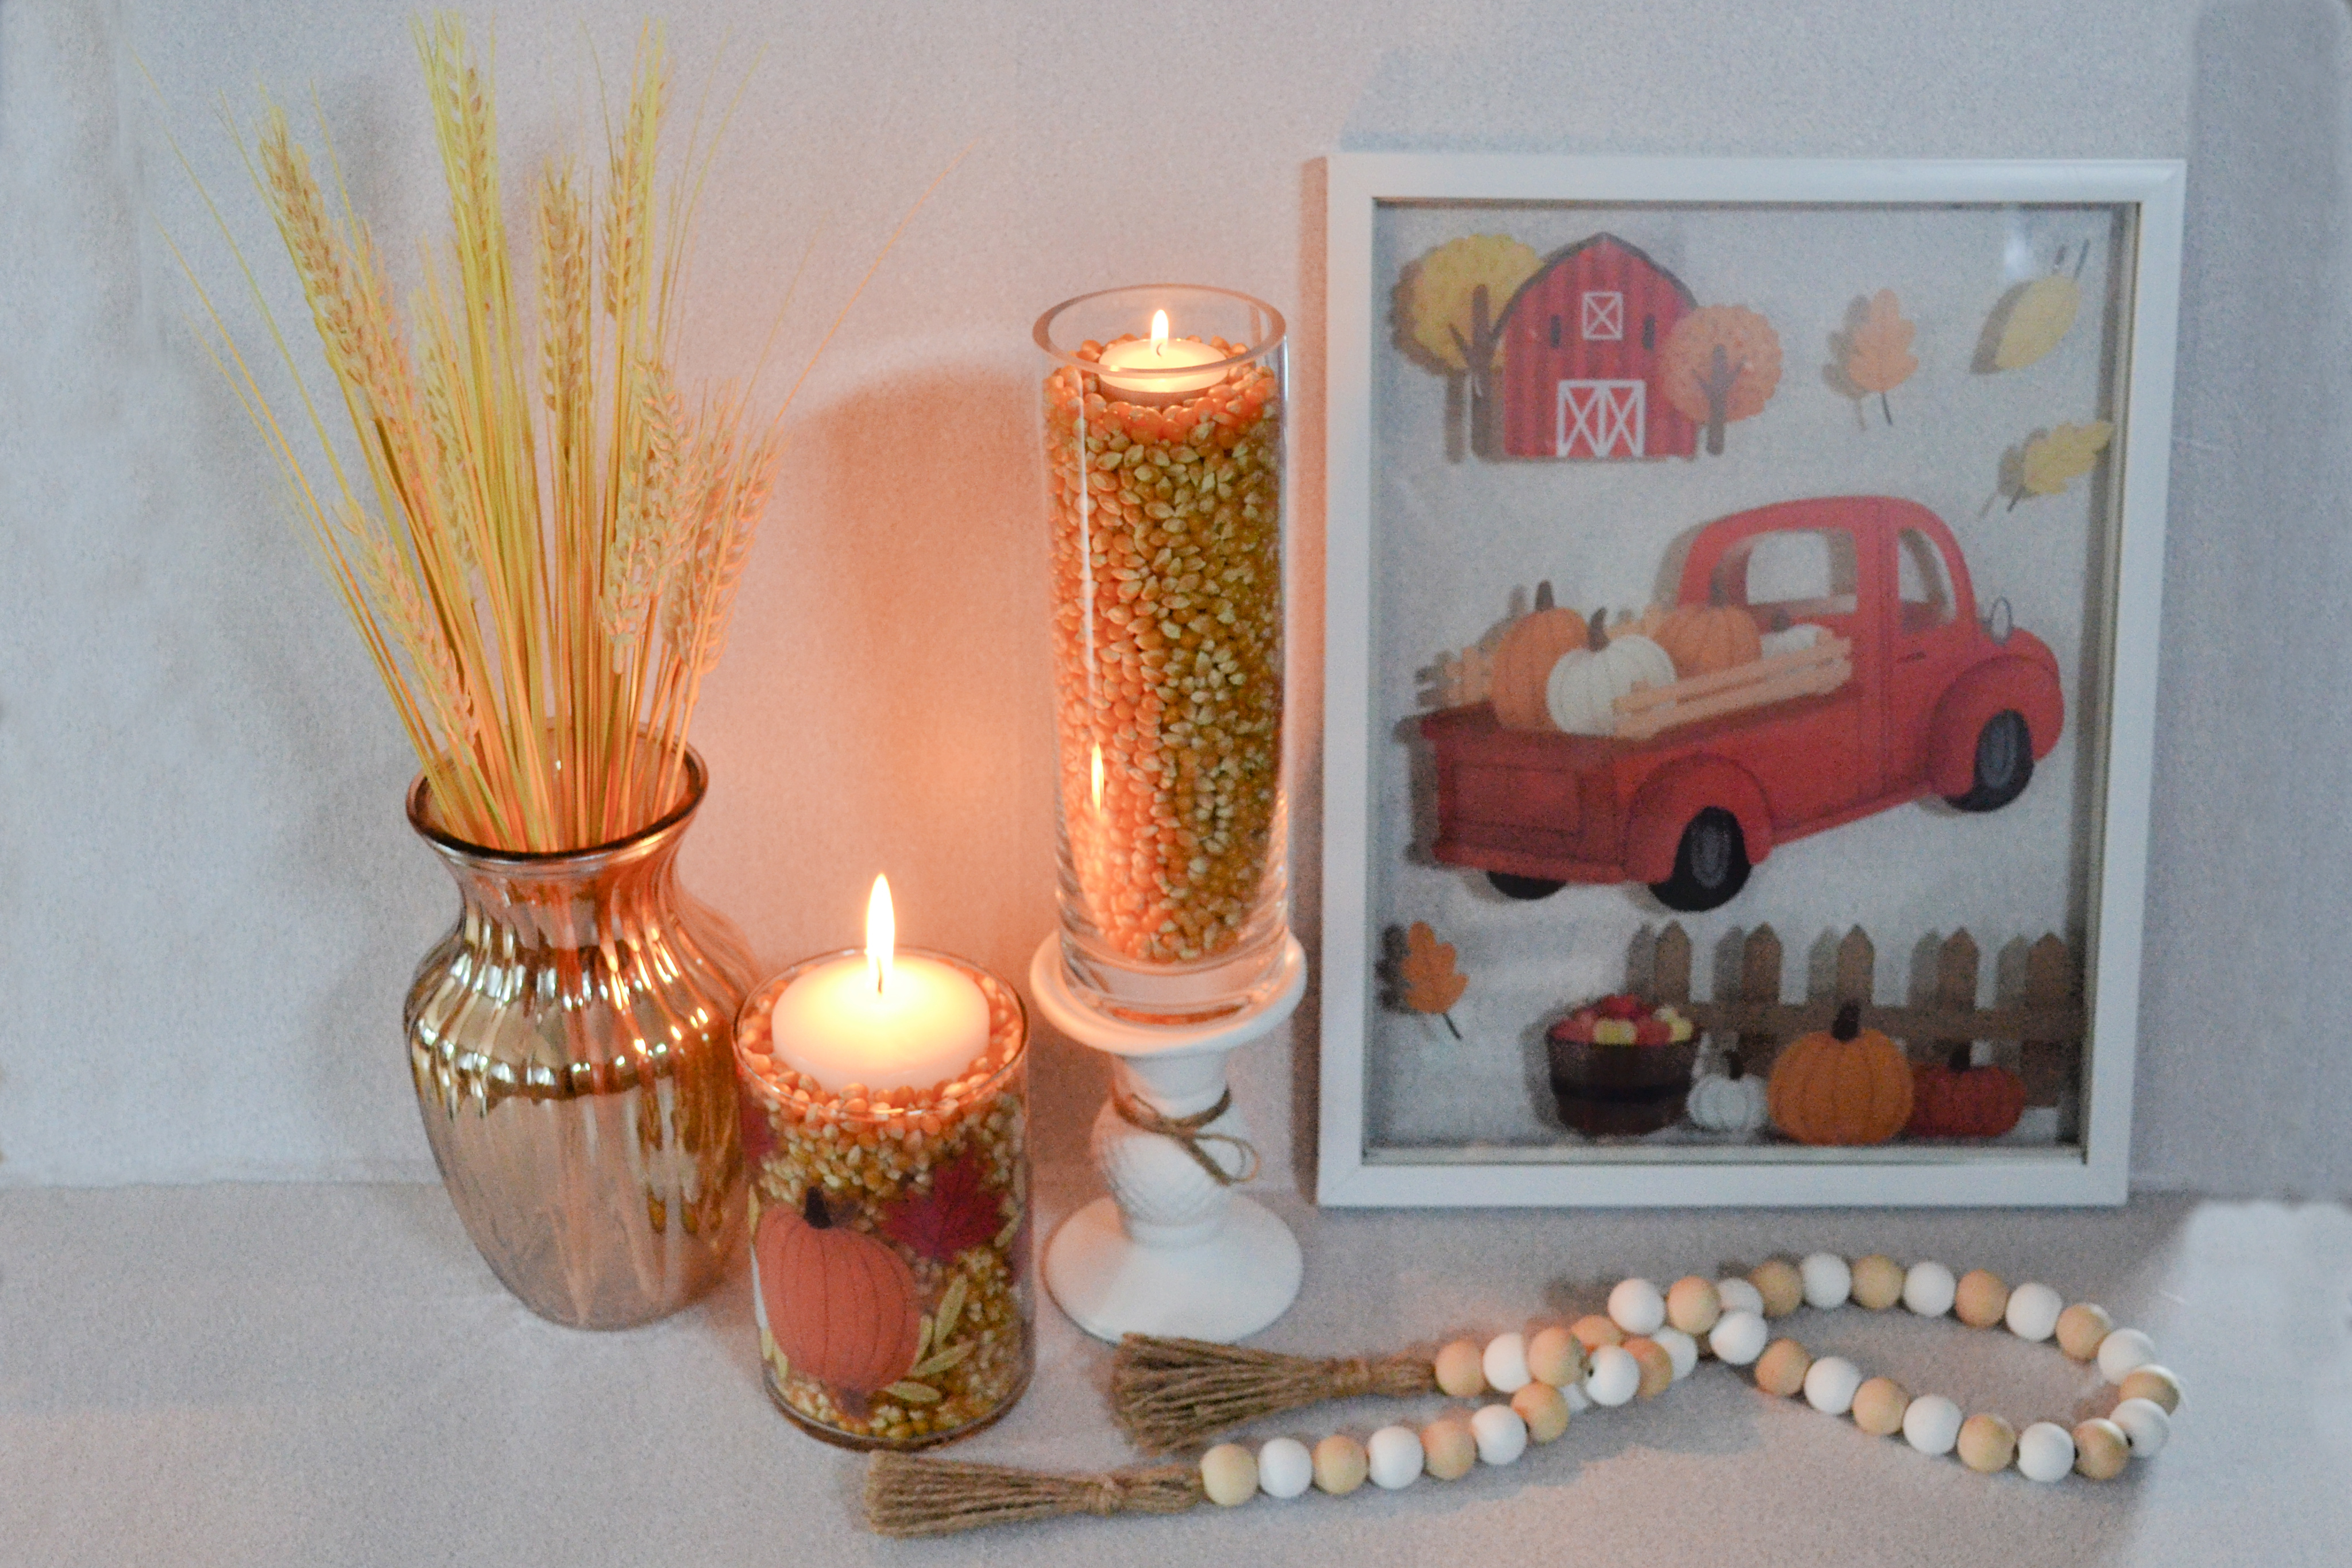
I also used the window clings with a dollar store vase and candles. I filled the vase with popcorn kernals, inserted a candle, and added window clings to the outside of the glass.
I think this is a really clever piece of decor, and because I didn't use any glue or adhesive, I can change up the vase later.
I also created a similar piece of decor with a larger vase. For this one, I didn't use any window clings, but I set it on top of a dollar store candle holder that I painted with white chalk paint.
I also found this iridescent vase and fake wheat at my local dollar store. The vase is very "on trend", and I love this colour for Fall.
Doesn't it look high-end with the print I designed? (PS-You can download this print for FREE here.
Here's a look at all the projects together. Pretty great for DIYs that take less than 5 minutes!
Get a closer look at all the Fall dollar store DIYs in the video below.
Which is your favourite? I think the window cling artwork is mine. I love that I can easily reuse the frame for Halloween and Christmas. All I need to do is change out the window clings. It doesn't get easier and/or more budget friendly!
I love saving money, so it's not surprising that I am always scouring the dollar store for fantastic deals, cool finds, and budget friendly DIY supplies. Today, I'm sharing five wonderful dollar store finds and DIYs for Fall. You are going to love these!
1) Budget-friendly FALL artwork - I absolutely LOVE this piece of Fall decor, and no one would ever guess that it's a FREE print in a dollar store frame! You can also pop the print onto a dollar store clipboard so it can easily be changed out for different seasons and holidays.
2) Fall pumpkins - I spotted these adorable Fall pumpkins in my local Dollarama, and I thought they were super cute. What do you think?
3) Reusable lunch containers - With Fall comes "back to school", and the dollar store has many options for reusable lunch containers. Here are two of my favourite options...
4) Affordable school lunch snacks - The dollar store has a large variety of affordable school lunch snacks. Stock up now to avoid scrambling the night before school starts. 🤣
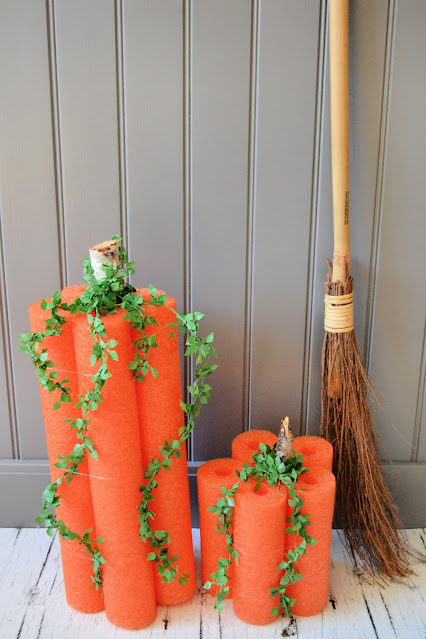
5) Pool noodles and garland - I know it might seem strange to buy pool noodles for Fall, but they are the perfect DIY supply for creating Fall decor. I used pool noodles, dollar store garland, and a stick from my yard to make adorable (large) pumpkins for my home. Cute, right? You can find the step-by-step instructions here.
For a closer look at all five of these dollar store finds and DIYs for FALL check out my YouTube video below.
Do you love saving money on back to school items and seasonal Fall decor? Which is your favourite item on my list?
I love finding ways to add inexpensive seasonal decor to my home, and one of my favourite ways to do it is by using prints I design myself. I print them cheaply, I add them to dollar store frames, and they look fantastic. Today, I'm sharing my latest FALL watercolour print with you for FREE. Isn't it gorgeous?!?!?
I added mine to this clear glass frame (from Dollarama) that lets you "float" pictures inside. I love how it looks, don't you?
You could also display it on a dollar store clipboard... which allows you to easily change it with the seasons.
To get your free copy of this print: click on the picture below, right-click, save it to your computer, and print it like a regular 8x10 photo.
I hope you enjoy this simple print. Let me know if the comments how you are going to display your copy. And if you'd like a Christmas print similar to this, let me know that too! 😊
Recently, I painted my lower kitchen cabinets. The process required me to empty my drawers, so it only made sense to take the opportunity to organize my drawers when I put them together. Today, I'm sharing my BEST tips and the DOLLAR STORE products I used. (I have a short video too!)
I had already organized my utensil drawer, but these four drawers (between my stove and refridgerator) were a mess!
The first step was to sort through the drawers and get rid of all the items I no longer used. Then, I figured out how I wanted to organize the items I had left, took some meaurements, and headed to the dollar store.
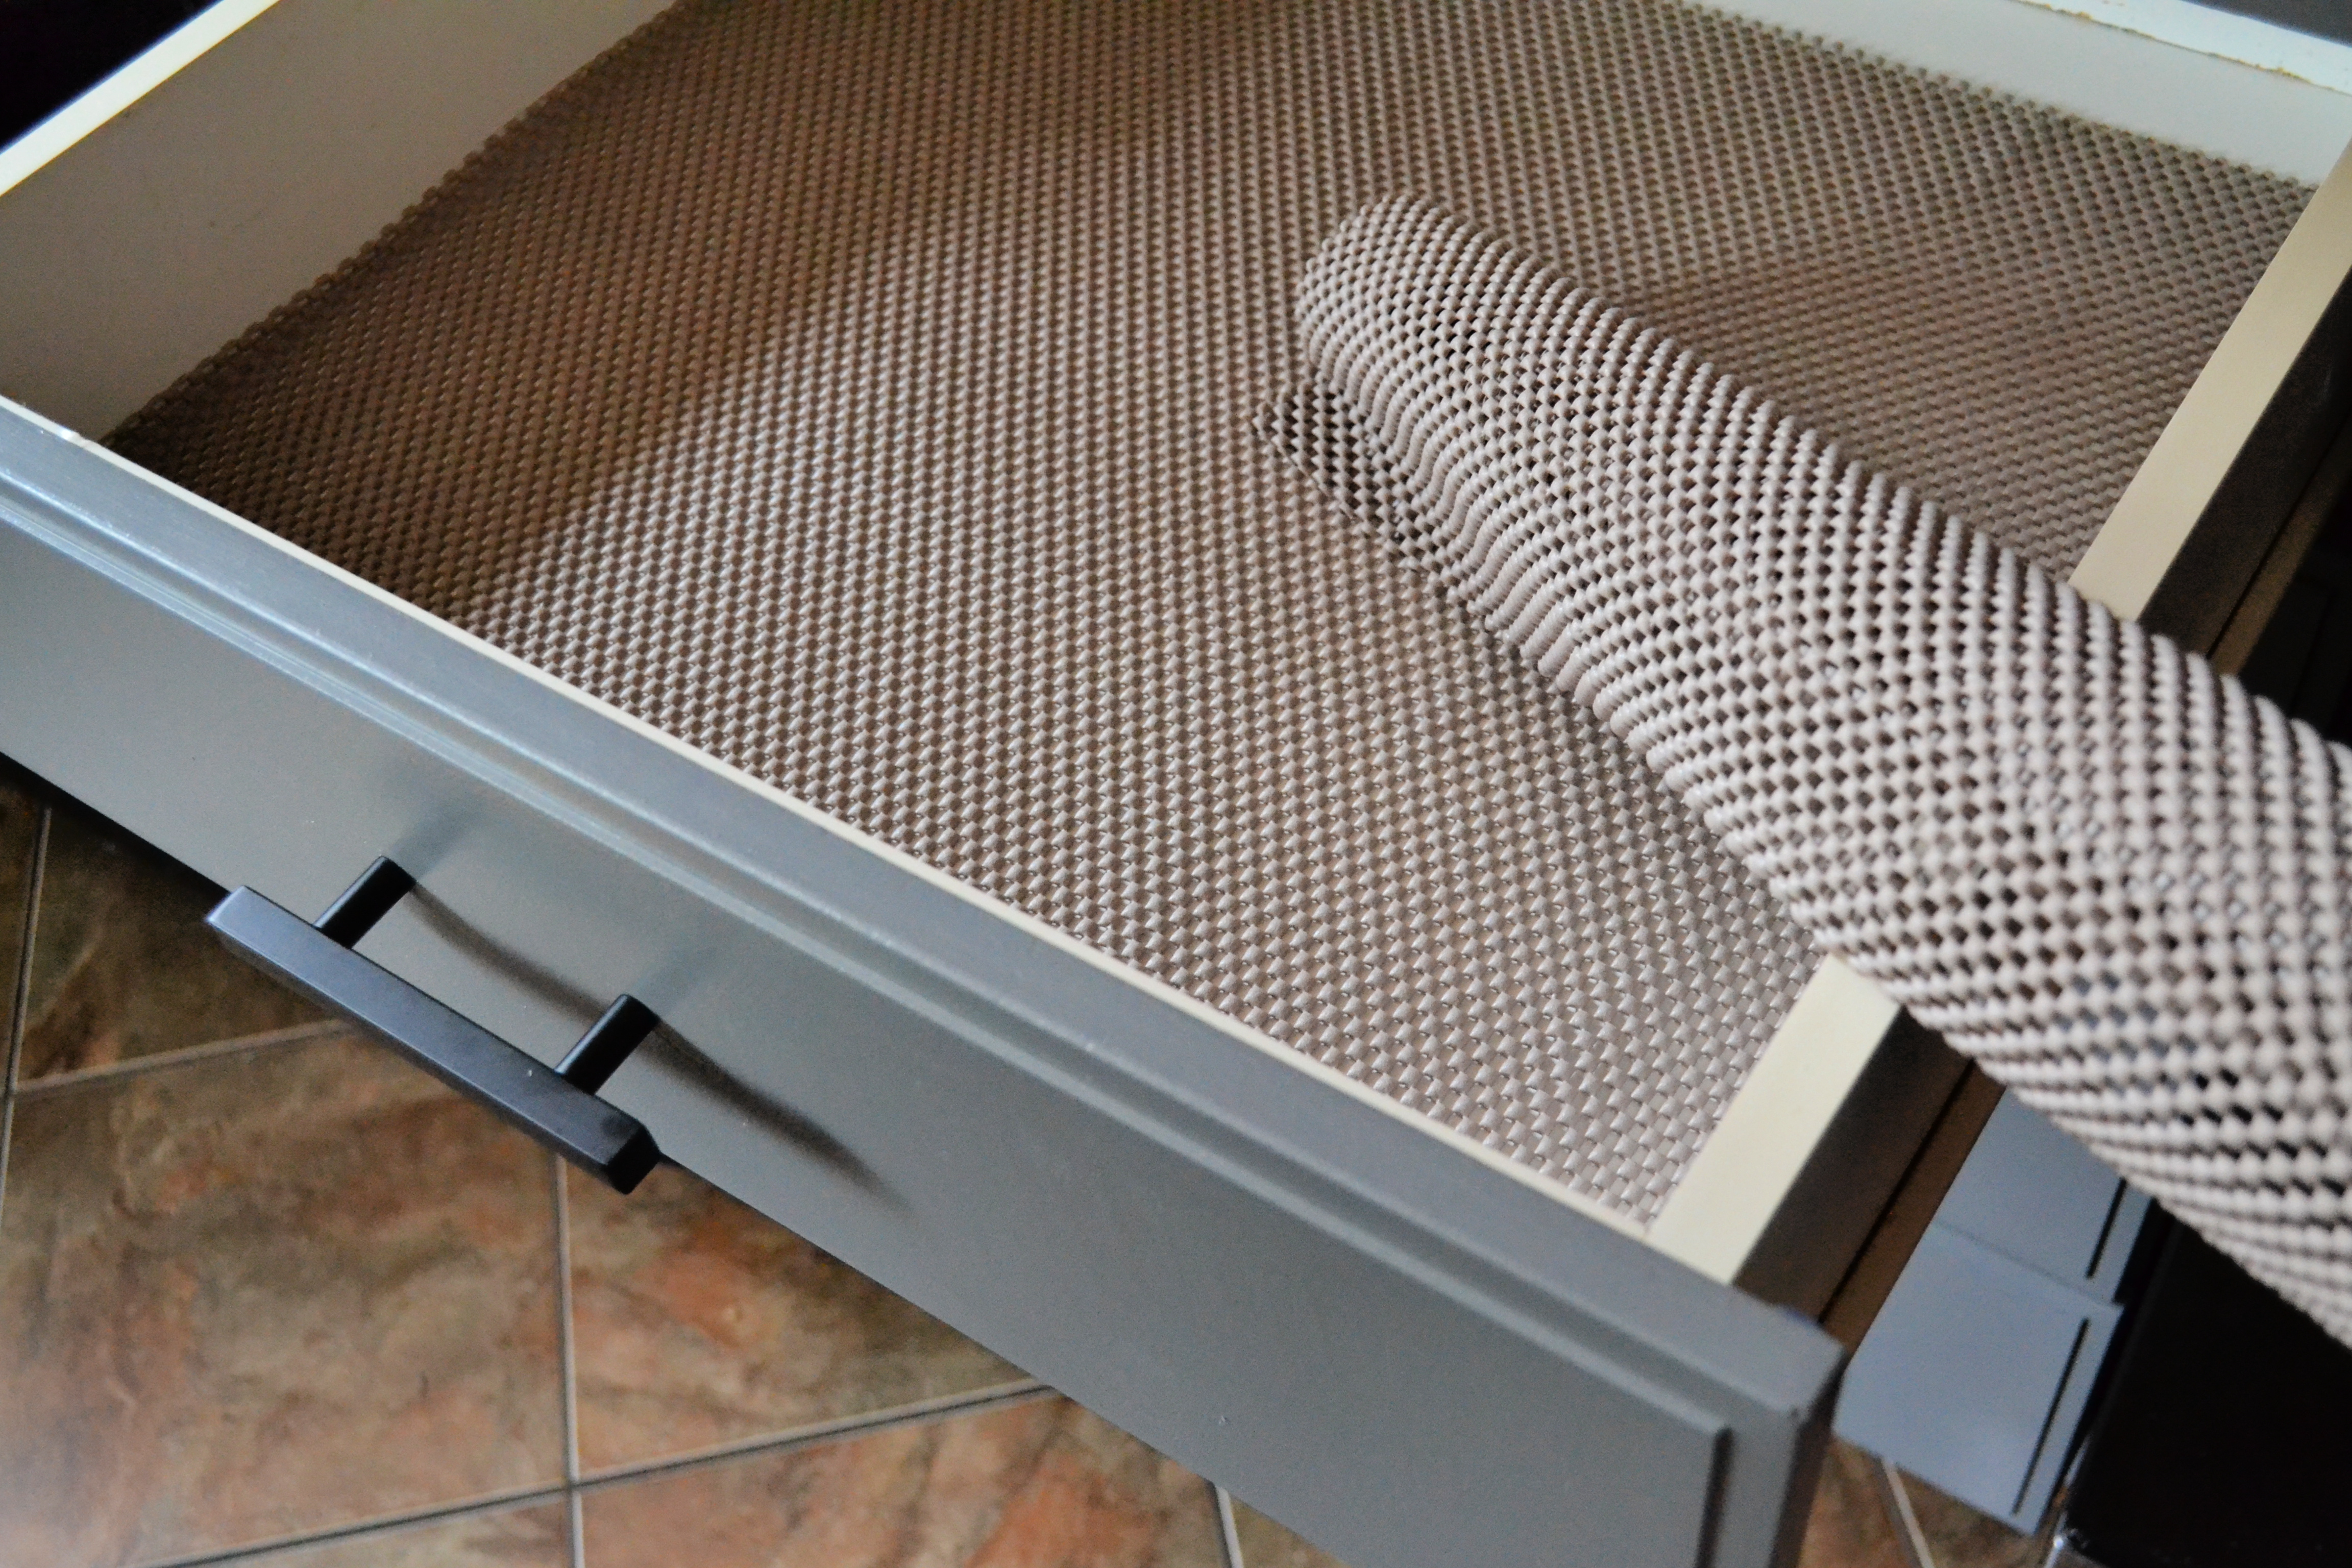
I used dollar store non-slip kitchen liner in all the drawers.
Then, I arranged dollar store bins in the drawers.
I put the items I use infrequently in the back, and the items I use most often in the front. I also focused on placing like items together.
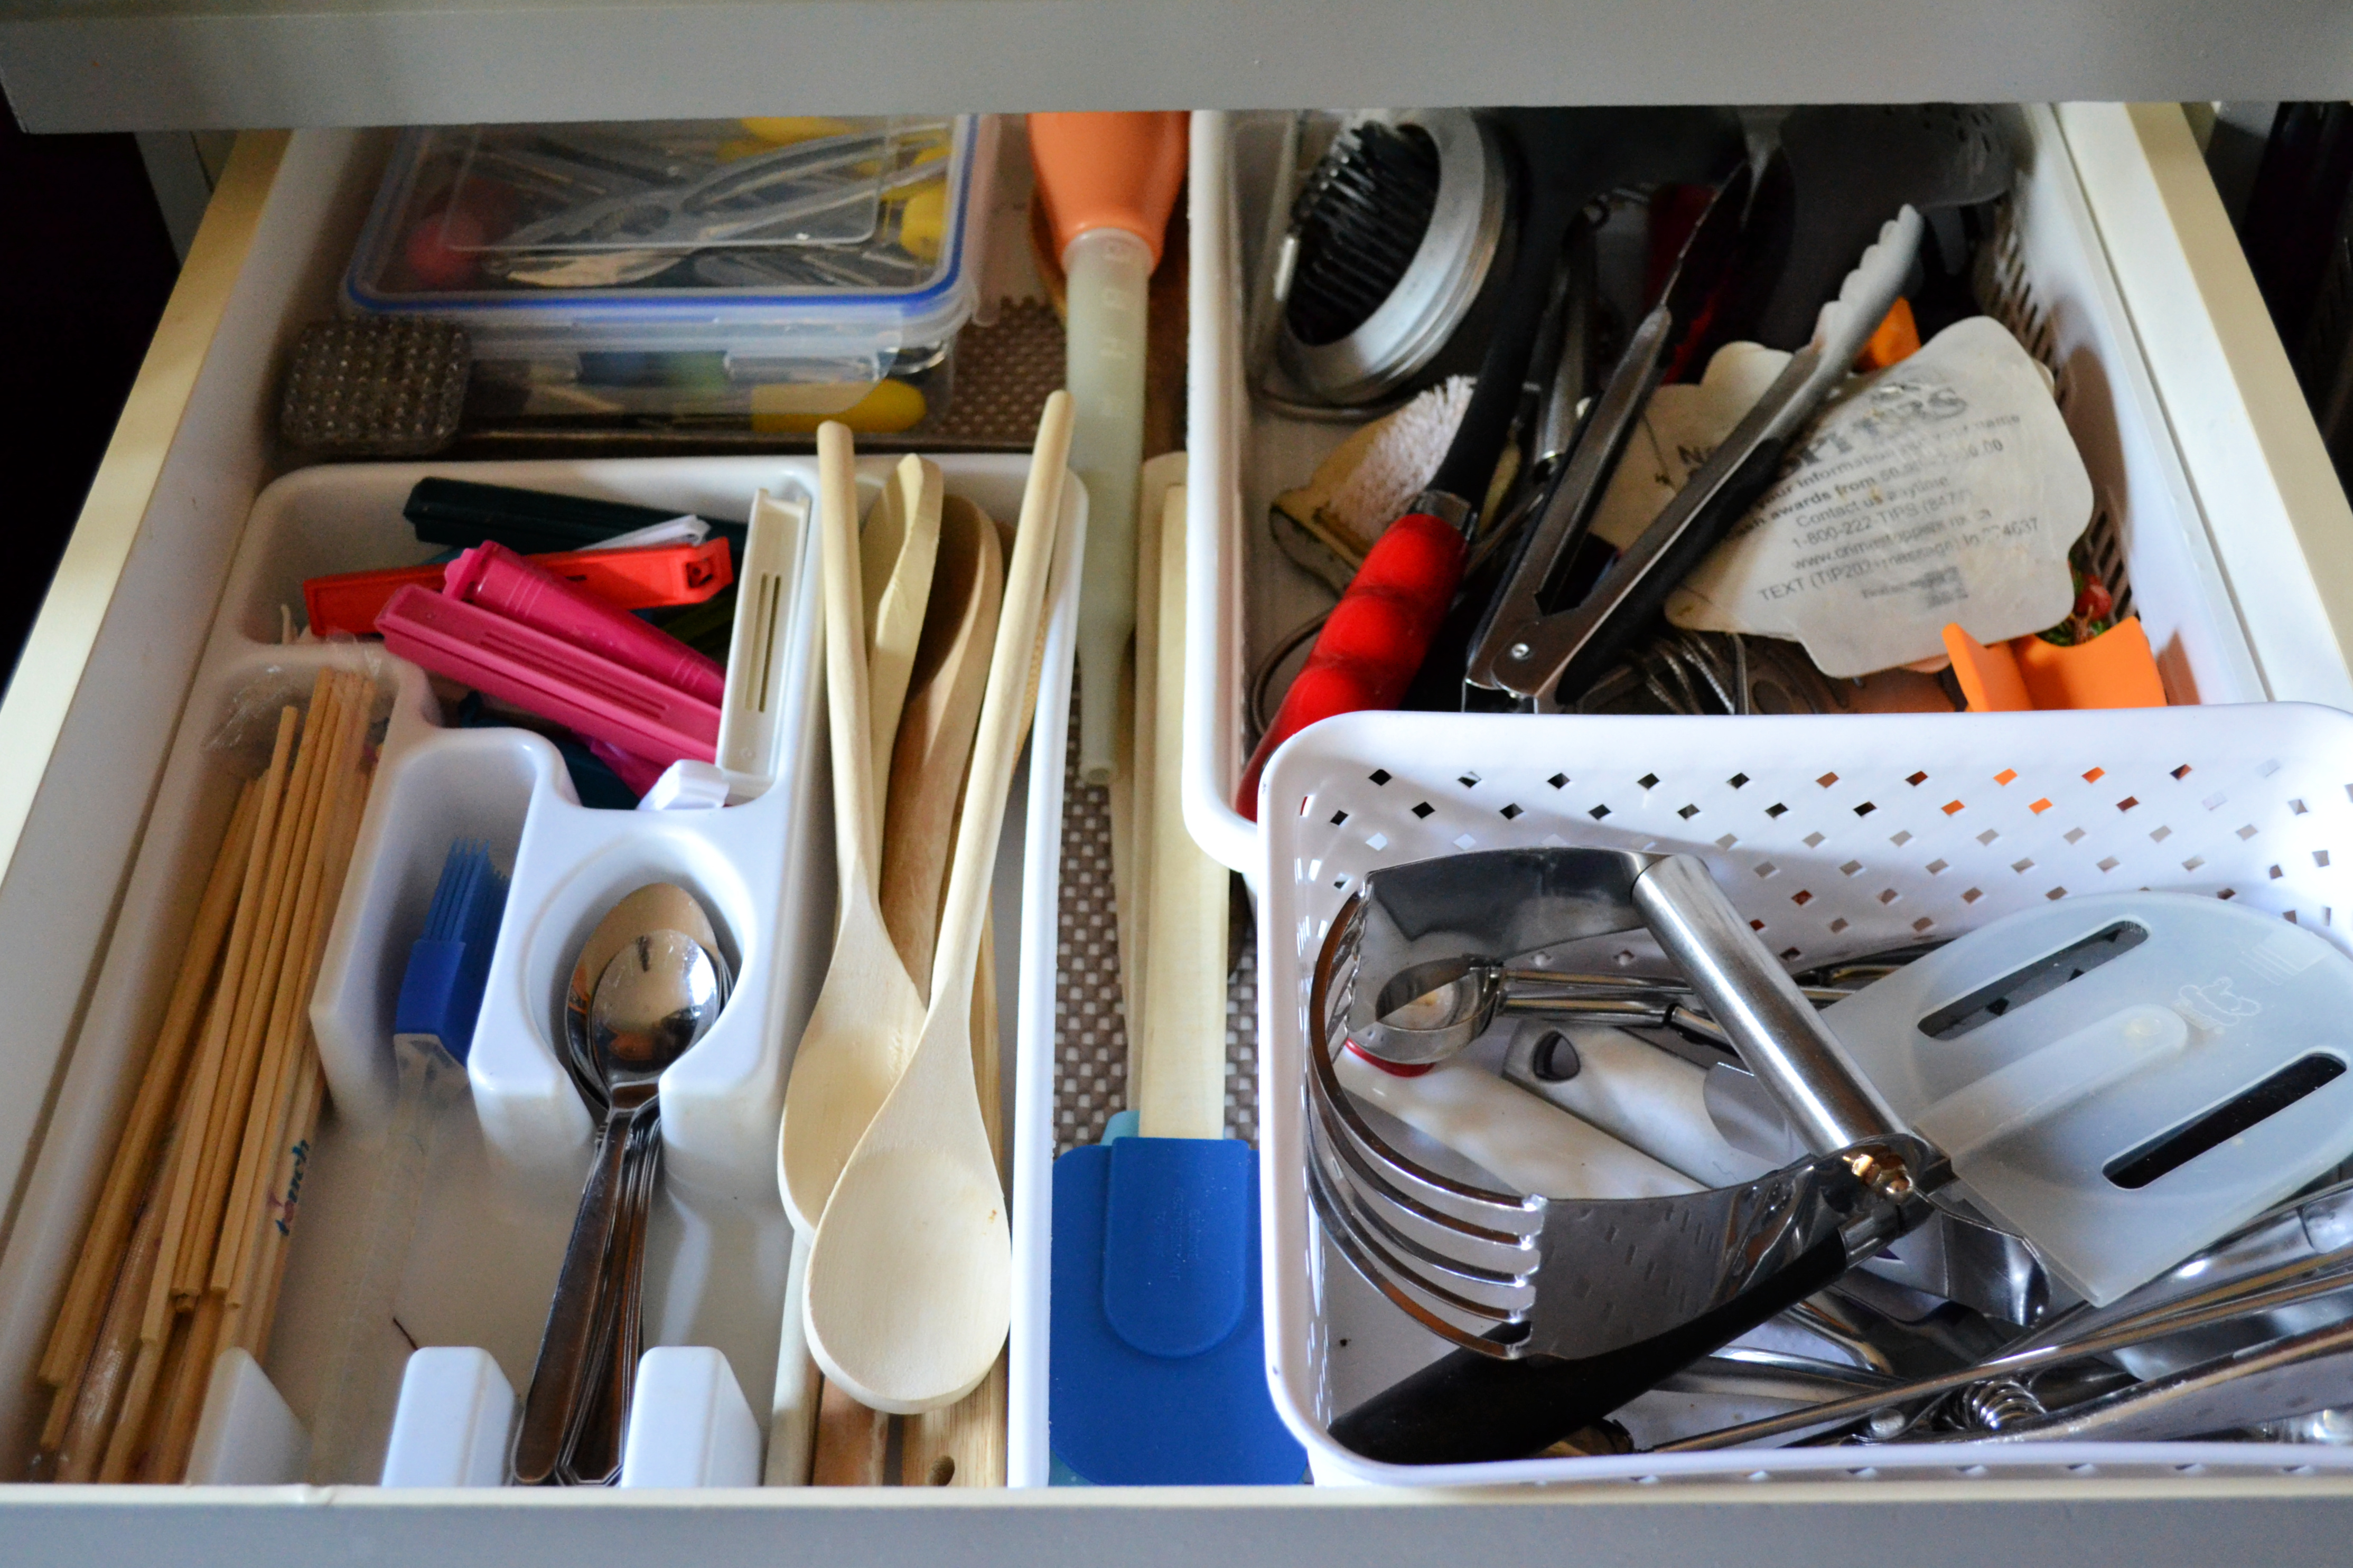
This is my top drawer.
In the second drawer, I placed napkins, oven mitts, dish towels, etc..
I used the third drawer for baking supplies. Again, I focussed on using dollar store bins to put like items with like items.
Finally, I placed all my cookbooks in the bottom drawer. Easy peasy!
For a closer look at my organization hacks, take a look at this short (2 minute) video. And if you don't already, subscribe to my YouTube channel so that you don't miss out on any of my fantastic videos. 😀
Are your drawers in need of a bit of organizating? I hope you find these tips helpful. Have fun!
I love getting organized... but I never seem to have a lot of time or money to invest. So, I'm always on the look out for cheap dollar store solutions that work well. Today, I'm sharing the tips and dollar store products that REALLY worked for me.
Here's a peek at the BEFORE. Pretty bad, right?!?
And here's how I fixed it...
1) I emptied the cupboard, gave it a good cleaning, and covered the bottom with contact paper.
I used these wipes (from the dollar store for cleaning).
And I used this contact paper to cover the bottom of the cupboard. It is only $1.25 at the dollar store, and it makes the area easier to clean... and it looks better.
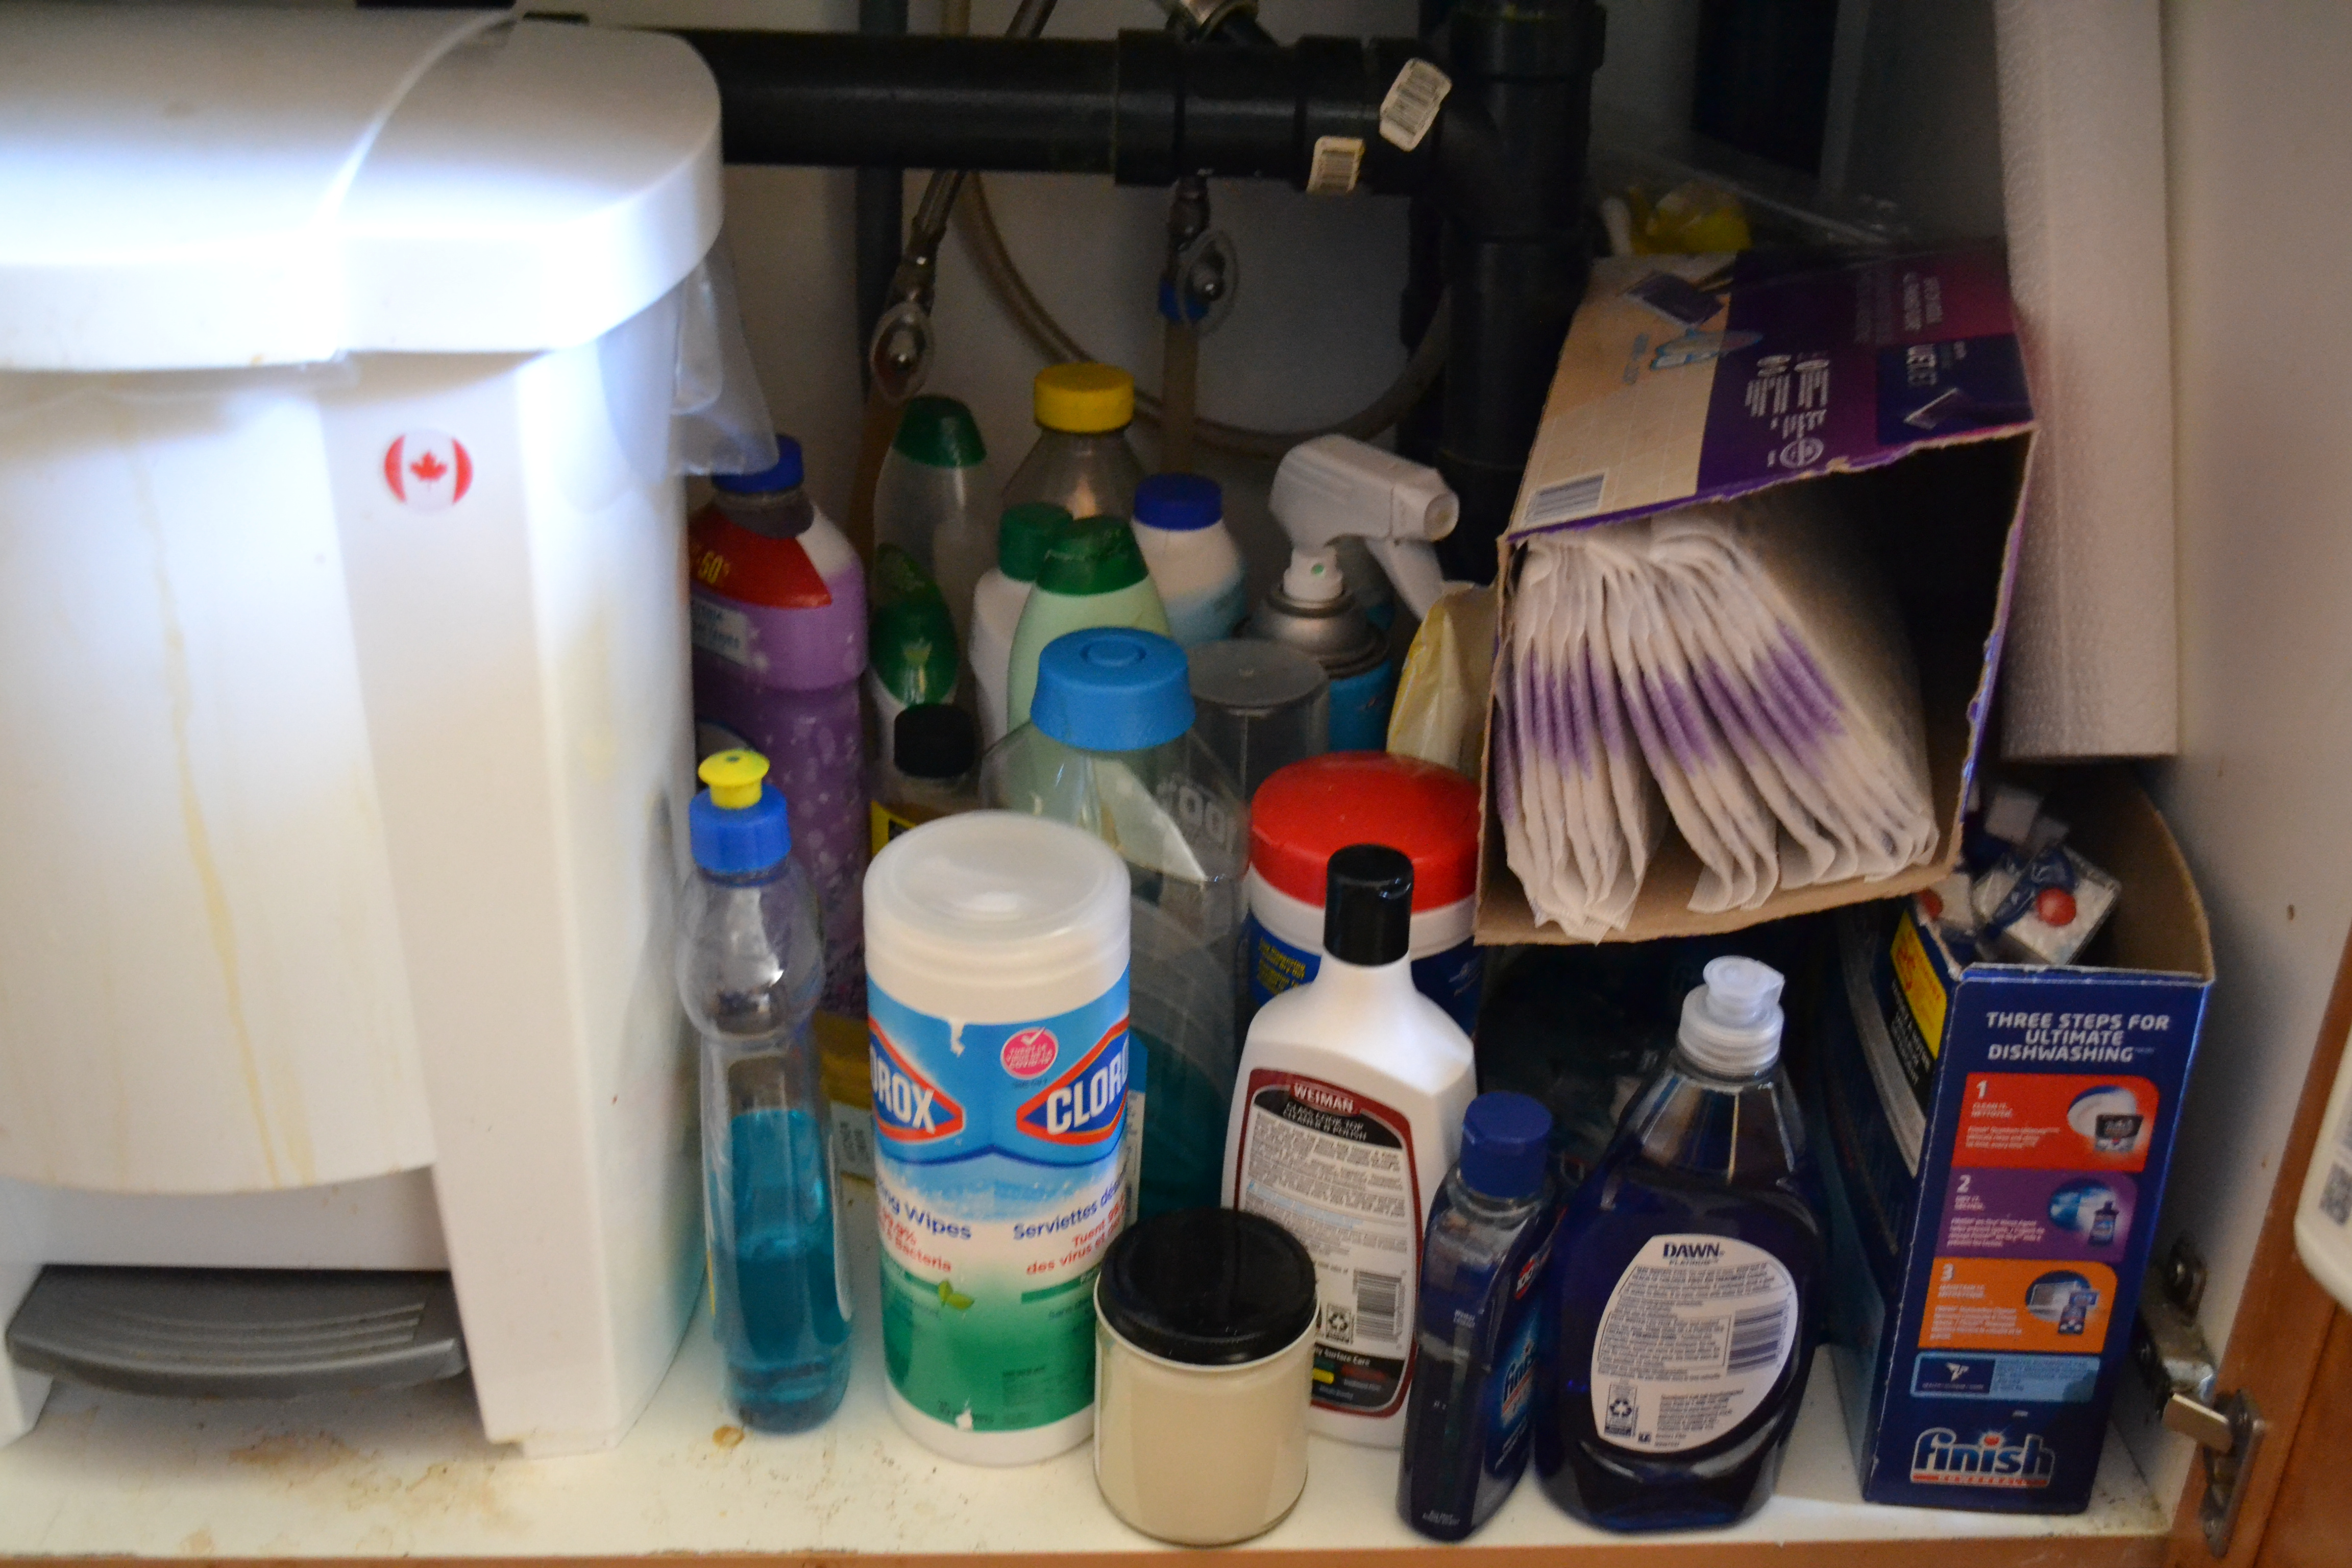
2) I assessed the space, and headed to the dollar store to get bins and baskets for the items I needed to organize. These two baskets were inexpensive, and worked well for storing items I don't use often in the back of the cupboard. I can just pull out the basket for easy access when I need them.
3) This tall and narrow container fit perfectly into a narrow space at the front of my cupboard. I used it for my dishwasher tabs so they are easy to grab every time I need them.
4) These stackable baskets are perfect for using the vertical space at the front of the cabinet. I purchased two, and filled them with the items I use most frequently.
I organized everything, and inserted my garbage can, and here's how it turned out. Pretty great for a little time and money, right?!?
5) I also put a couple of hooks on the door. They are easy to stick on, and they are perfect for hanging items like cleaning spray and scissors. I can now grab them quickly and easily any time I need them.
6) The dollar store towel racks are also great, and I hung one on the outside of my cupboard door. It's a perfect place for my dishcloth.
For a closer look at how I organized under my kitchen sink (and the inexpensive products I used), take a peak at this short (under 5 minutes) video.
What do you think? If you have a genius idea for organizing under the kitchen sink, let me know. I'm always looking for new, easy, and inexpensive ways to make my home more organized!

.png)


.jpg)


.jpg)


.jpg)


.jpg)

.png)


.jpg)
.jpg)
.jpg)

%20(1).png)
%20(1).png)


.jpg)


.jpg)


.png)


.jpg)
.jpg)

.jpg)


