NEW High-end HALLOWEEN Decor... made using dollar store supplies

I love creating high-end holiday decor, and I especially love when it is budget-friendly. Today, I have some fantastic Halloween DIYs made using dollar store supplies. I absolutely LOVE the LED cauldron. Take a peek and let me know which one if your favourite.


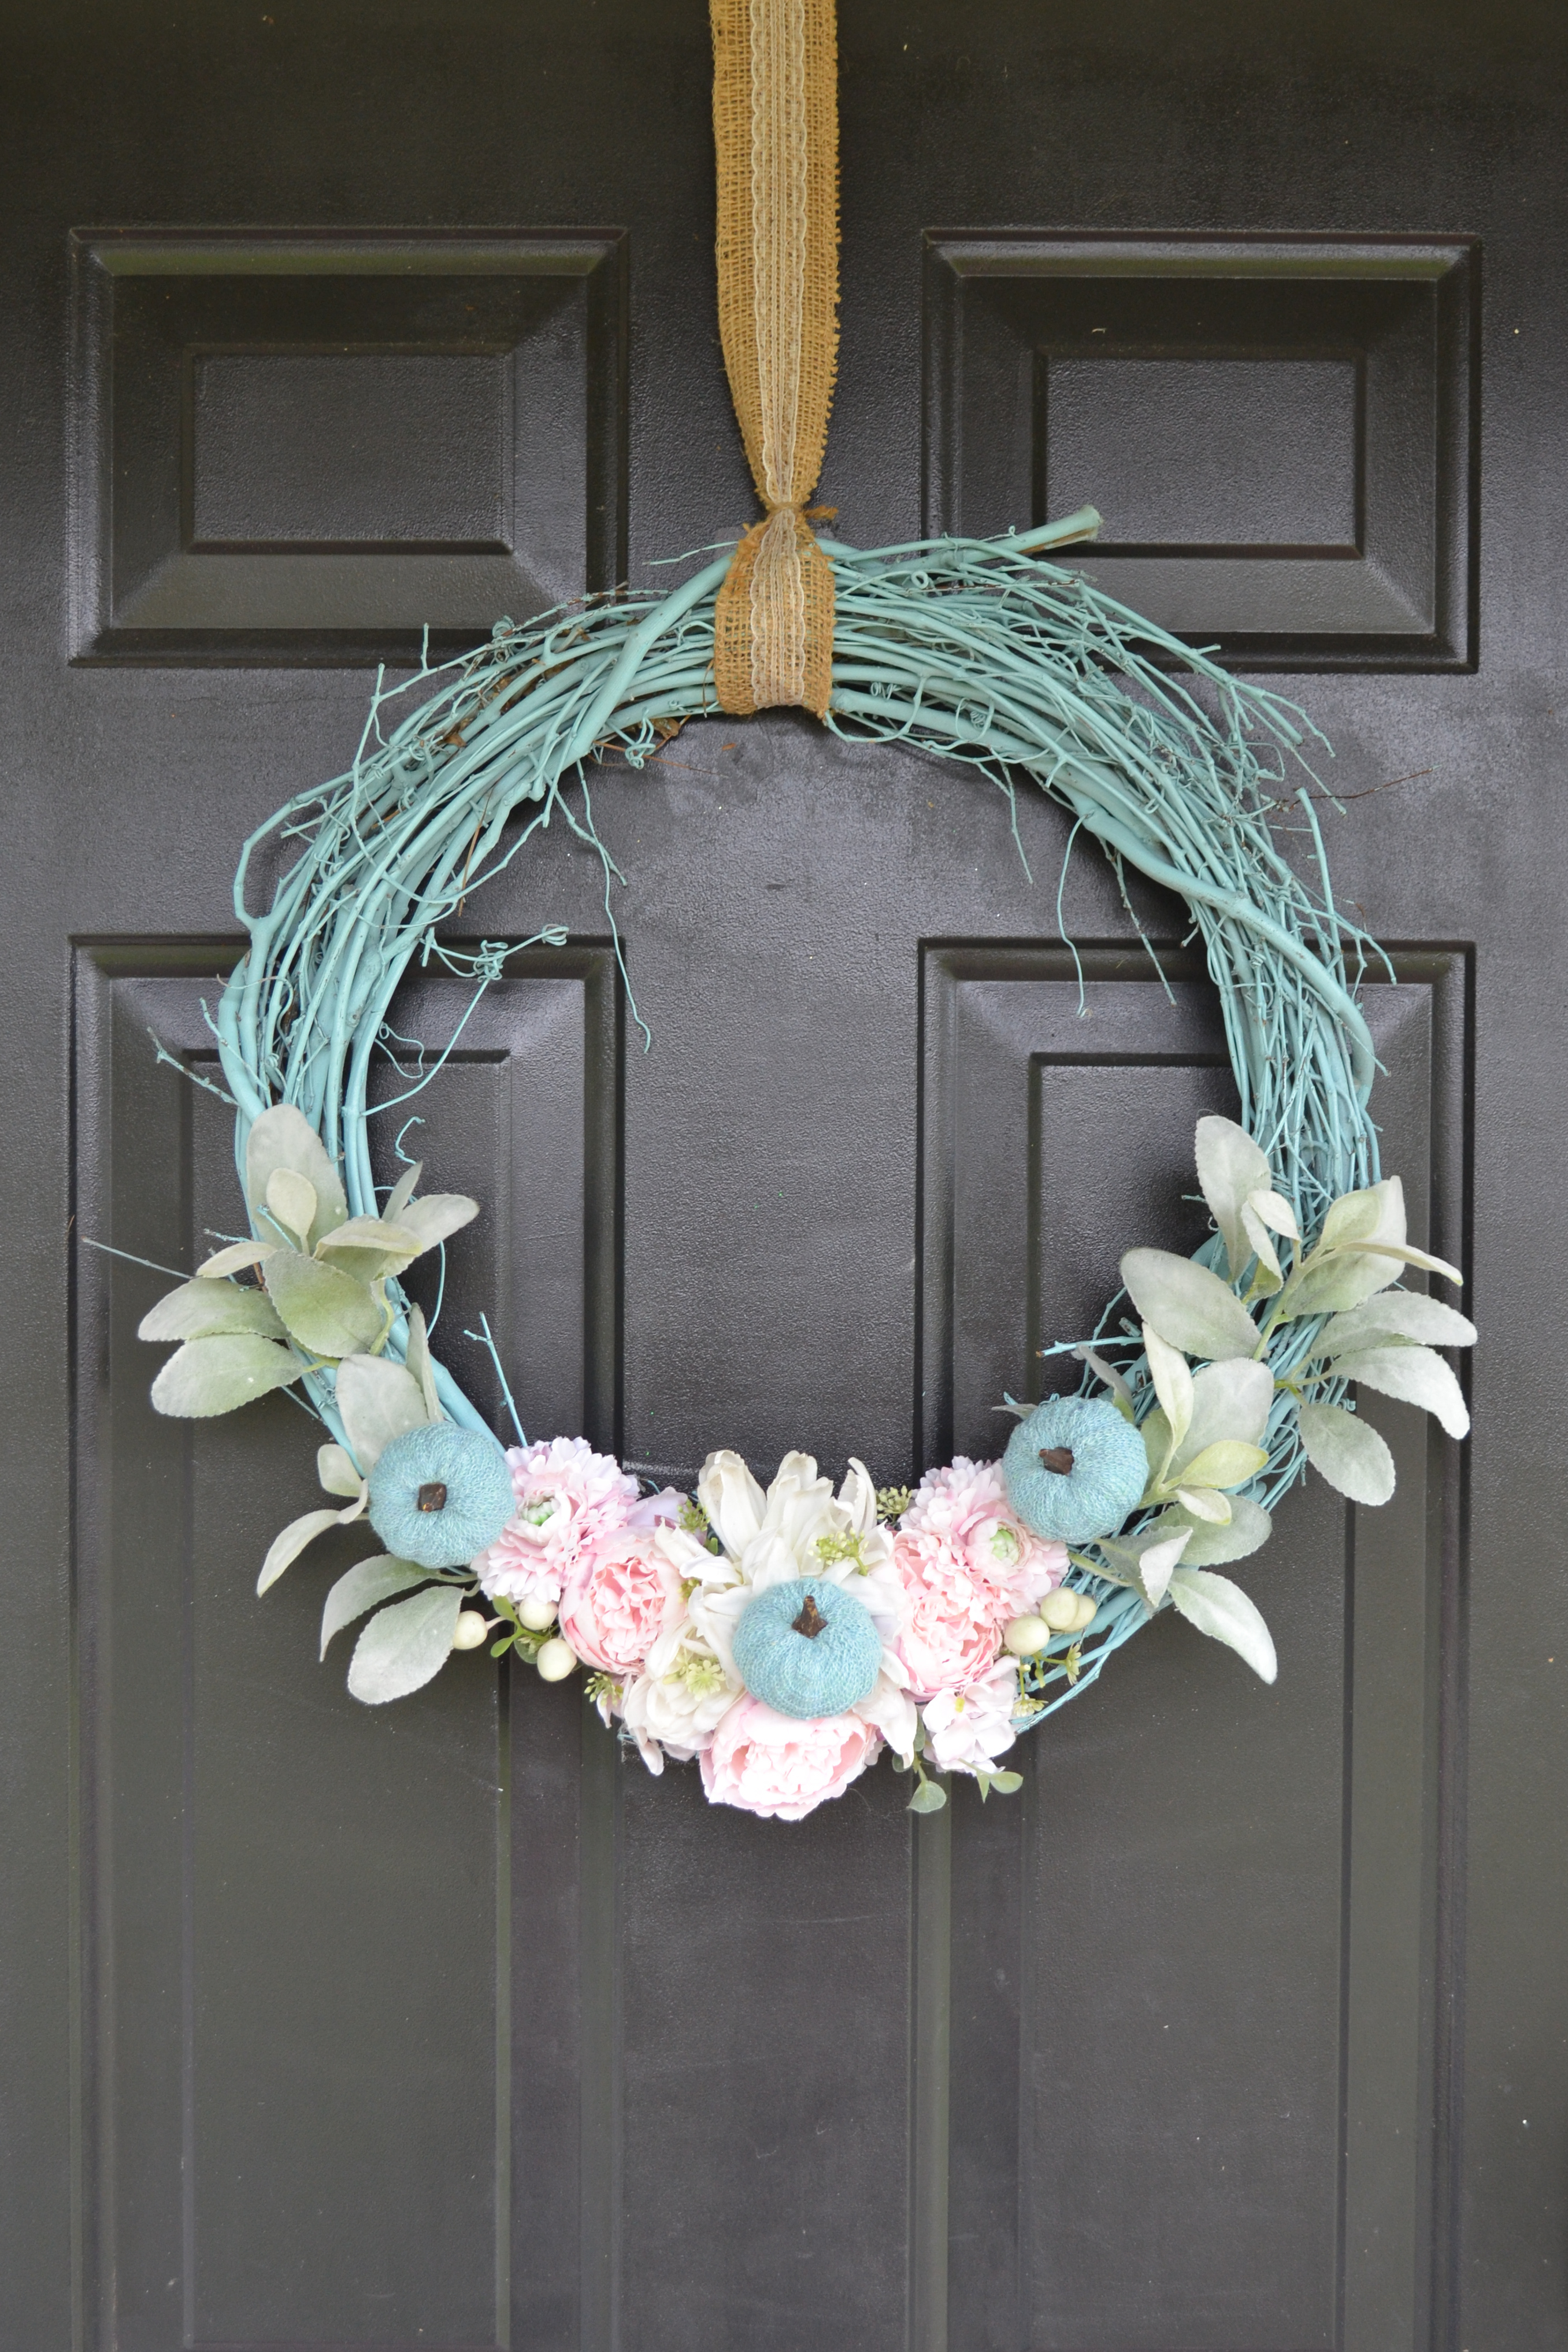
This wreath could not be easier to make, and it's totally adorable! I used an old grapevine wreath form and a wooden ghost from the dollar store. You can get a closer look (and the instructions) here.


I also made this cat and old-fashioned ghost face using dollar store wooden blanks, and you can see how I made them here. Pretty cute, right?!?!


And here is my FAVOURITE! I love this cauldron made from a dollar store LED light and curling ribbon. It looks fantastic when it is lit up at night. I think it would look great set up on a food table at a Halloween party. You can find the simple "how to" here.


Are you ready to make something fantastic for Halloween? Check out the video I made below to see how easy and inexpensive these gorgeous pieces of decor are to make using dollar store supplies.


Let me know which one of these Halloween DIYs is YOUR favourite. Which wooden piece would you have used for the wreath?


Gina
 (aka East Coast Mommy)


You might also be interested in the ideas here...

Fall & Halloween Dollar Store Finds and DIYs

I love inexpensive seasonal decor, and I have created some great pieces this year. I'm also sharing options that work for BOTH Fall and Halloween. Check out the dollar store finds and DIYs (and helpful video) below.


I absolutely love the trays I made for Fall and Halloween using dollar store supplies. I think the dollarama vase fillers and remote control LED light are super-fun! Check out the video here for the step by step instructions.


Here's the tray I made for FALL. (Check out the video here for the step by step instructions.)


And here's the tray I made for Halloween. (Check out the video here for the step by step instructions.)


And while you are at the dollar store, make sure to pick up these 7ft ghosts. They are inexpensive, super-cute and give you a great "bang for your buck".


And for Fall, make sure you pick up items to decorate a tiered tray. This year, I found an adorable and whimsical "turkey" bell.


Dollar store jars are another great dollar store find.


I used mine to make a treat tray that works for Fall AND Halloween.


I also used a dollar store two-sided sign to make a sign I can use for Fall AND Halloween. (Check out the video here for the step by step instructions.)

Here's my Fall version.


And here's the one I made for Halloween.


To take a closer look at all my latest dollar store finds and DIYs, check out the video I made:


Make sure you check out my video and let me know which find or DIY you like the best. 😃


Gina
 (aka East Coast Mommy)


You might also be interested in the ideas here...

High End FALL Decor... on a dollar store budget / Clever money saving HACKs

I love adding seasonal decor to my home, and I really love doing it on a budget. I especially enjoy using what I have so I have less clutter in my home. Today I'm sharing a few of my clever money saving HACKs for Fall.


One of my favourite HACKs is to replace the artwork in frames that I already have in my home. For Fall, I designed a fun "hello pumpkin" print that you can download for FREE below. I absolutely love the colours!


To download the print for free: click on the picture below, right-click, save it to your computer, and print it like a regular 8x10 photo.


I also LOVE updating existing decor. For example, I made this simple grapevine wreath for summer. (It's just a grapevine wreath spray painted turquoise and embellished with faux flowers and greenery.)


When I found these adorable pumpkins (for ONLY $2) at my local Dollarama, I knew they'd be perfect for updating this wreath for Fall.


I used the clips to attach them to the wreath, and "voila!". I instantly turned a Summer wreath into a Fall wreath. Clever, right?!?!


Want a closer look at these products... and check out MORE ideas like this? Take a peak at the video below.


What colours do you love for Fall? Do you prefer traditional or untraditional colours (like the ones I used for my print and wreath)?


Gina
 (aka East Coast Mommy)

3 "C" Cookies -- Crispy, Crunchy and Chewy

Sometimes you need a break from the traditional cookie recipes you bake all the time, and this recipe is just what you have been looking for. It's simple to throw together, it makes a bunch, they freeze beautifully, and they are delicious. The texture and buttery flavour of these cookies is EVERYTHING!


To make these cookies, you'll need:

1 cup white sugar

1 cup brown sugar

1 cup oil

1 cup softened butter (not melted)

1 egg

1 tsp real vanilla

3 1/2 cups flour

1 tsp salt

1 tsp baking soda

1 tsp cream of tartar

1 cup rolled oats

1 cup sweetened, shredded coconut

1 cup Rice Krispies


Directions:

1) Preheat oven to 350 degrees.

2) Beat together: white sugar, brown sugar, oil, butter, egg, and vanilla together.

3) In a separate bowl, mix the flour, salt, baking soda, cream of tartar, oats, coconut and Rice Krispies.

4) Mix the two bowls of ingredients together.

5) Roll into ball, and flatten with a fork.

6) Bake until lightly brown in colour (approximately 10 minutes).


For a closer look at how I make these cookies, check out the short YouTube video here.


Seriously... sooooo yummy!


These cookies are fantastic for school lunches, and I love mine with a cup of coffee or tea. If you give them a try, let me know what you think. 


Gina
 (aka East Coast Mommy)


You might also like the cookie recipes here.

First Day of School 2023

Today was the first day of school for my youngest two boys. My oldest started university yesterday. As always, I served a special breakfast and took a few photos. 😀


I wasn't sure I was going to get my university student to pose for a photo, but my sweet boy reluctantly let me take a quick picture before he embarked on his new adventure. He's actually holding a picture of him on his graduation day holding a picture from his first day of grade primary. Cute, right?!?!?


In keeping with tradition, my other two boys took pictures holding pictures from the first day of school last year.

Here's my "baby" who is going into grade 9.


And here's my middle son who is heading to grade 11.


We had our traditional breakfast, and we'll have a special treat when they get home. I can't wait to hear about their day! 💗


How did you celebrate the first day of school? I hope you all have a fantastic year!


Gina
 (aka East Coast Mommy)

Don't miss any of the fun....