Showing posts with label craft video. Show all posts

5 Genius Budget-friendly Ideas for SUMMER... including FREE games and decor

Summer is definitely my favourite season. Who doesn't love decorating with cheerful colors, vacations, and warm temperatures? Today, I'm sharing a few genius ideas for summer... including food, decor, and more. I use a lot of dollar store supplies AND I have freebies too!


I even made a fun video with all the info you need!


Watch the video here.


1) Hand painted lemon slice coasters - I found a six pack of rounds at the dollar store, and I thought it would be fun to turn them into lemon slice coasters. They are super simple and fun to paint -- at any age. I'm not much of a painter, but I think they turned out really cute! You can find the full step-by-step instructions here.


2) Cheesecakes in jars - I love these individual cheesecakes. They are portable and perfect for camping, picnics, and bbqs. And... the best part is how easy they are to make. Find the instructions for these "no bake" cheesecakes here.


3) FREE Summer print - I love cute summer print, and this one is FREE and looks adorable in a dollar store frame.


To download the picture I designed: click on the picture you want (below), right-click, save it to your computer, and print it like a regular photo.
4x6

5x7

8x10


4) Printable SUMMER Tic Tac Toe - I'm obsessed with these little games I designed. They are perfect for summer days, camping, and road trips. I love the bright colours and the fact that they are an activity AND a snack. Cute, right?


To download the games I designed for free: click on one of the photos below, right-click, save it to your computer, and print it like a regurlar 4x6 photo.


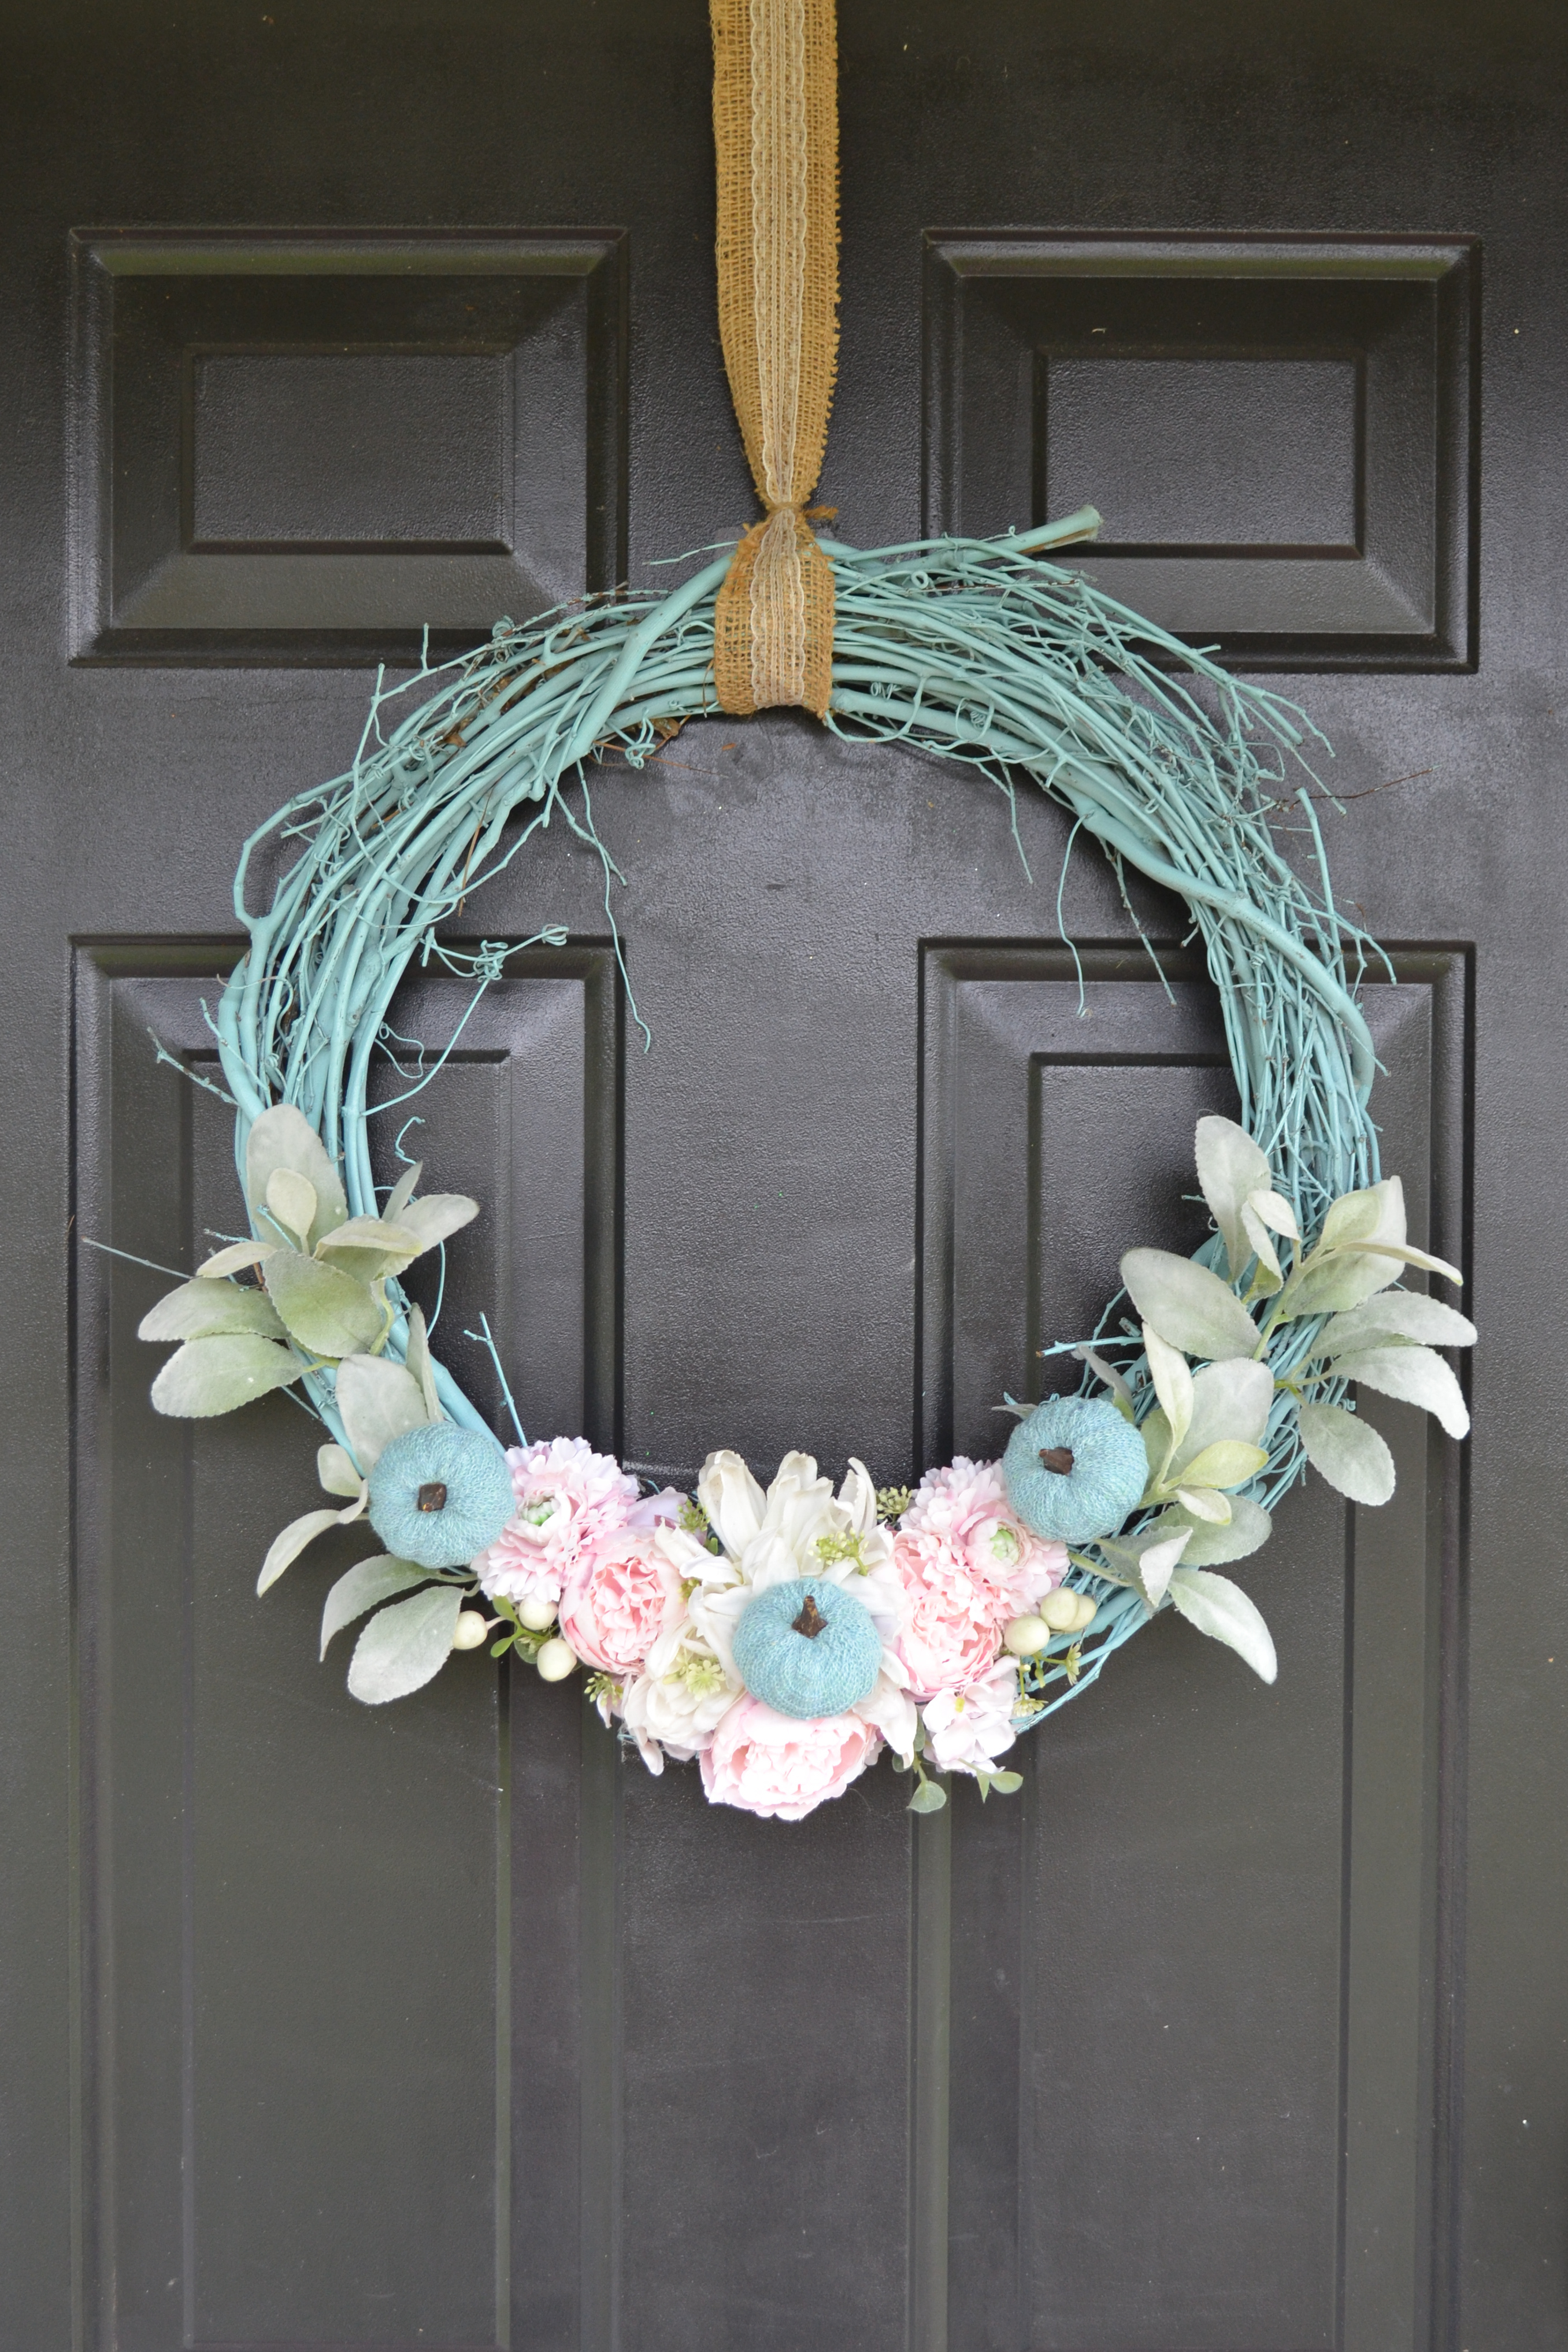
5) FREE Summer decor - I love inexpensive seasonal decor, and these summer prints are super-cute and FREE. Grab copies here, pop them in a dollar store frame, and enjoy!


I hope you enjoy these budget-friendly ideas for summer. Let me know which one is your favourite in the comments below... and don't forget to watch my video for a closer look.


Gina Bell
 (aka East Coast Mommy)


You might also like the summer DIYs here.

The BEST Budget Friendly SPRING Finds and DIYs

When the Easter decorations have been put away, it's a clear sign that Spring is on its way. I love getting organized and refreshing my home for Spring, and my YouTube channel is full of easy and inexpensive ideas for making the most of the season. Check out some of my favourite budget-friendly SPRING finds and DIYs below.

These Spring DIYs are made mostly using dollar store supplies. The umbrella wreath could not be easier, and it's one of my most popular Spring decor projects.


The DIYs are also super-easy. I love the clever use for garden markers.


What's easier than putting a FREE print in a dollar store frame??? That idea and more here:


I love using a tiered tray to create a Spring vignette... and it's sooo easy to make one using glue, dollar store plates, and a dollar store candle holder. The full instructions and more simple ideas here:


And if you are looking for an easy transition from Spring to Summer, you are going to want to check out this video:


If you like these ideas, don't forget to subscribe to my YouTube channel. I have many more fun videos planned, you don't want to miss out.

Happy Spring!!!

♥ 

Gina Bell (aka East Coast Mommy)

Magical Easter Ideas for Kids... and FREE Easter basket goodies!!!

Holidays provide the perfect opportunity to make magical memories. Today, I'm sharing delightful Easter ideas (and freebies) that are guaranteed to impress the Easter Bunny!


1) Coupons from the Easter Bunny are a wonderful alternative to candy in an Easter basket, and I made some FREE ones that you can download below.


To download the coupons I designed (for free): click on the photo below, right-click, save it to your computer, and print like a regular 8x10 photo.


2) Magic jelly beans are another fun option for an Easter basket. I have a free printable envelope you can print below. Fill it with jelly beans and pop it in an Easter basket. 

The kids can follow the instructions from the Easter bunny: plant it in sugar on Easter Sunday, and on Monday morning, the jelly beans will grow into something fun. :-)


To download the envelope I designed for free: click on the photo below, right-click, save it to your computer, and print like a regular 8x10 photo.


3) Homemade goodies are great, but this shortcut is sure to impress. Who wouldn't love a chocolate bunny on a stick? It's soooo adorable.

Just take a store-bought bunny, and attach a sucker stick to the back with some melted chocolate. Let it dry, and that's it!

Pop them in cellophane bags, tie with ribbon, and add a name tag if desired. Easy peasy!


For a closer look at these ideas (and a few bonus ones!), check out the video I made below.


Which of these ideas is your favourite? I think they are all pretty cute!

♥ 

Gina Bell (aka East Coast Mommy)


Find more Easter ideas here.

NEW Easy and Inexpensive Valentine's Day Ideas / Dollar Store Crafts / FREE Printable Valentine

I have fun, NEW easy and inexpensive Valentine's Day ideas to share today. Many use dollar store products, AND I have FREE printable tags you can download and print. Check out the simple ideas, a step by step video, and the free tags below.


Donuts make a cute Valentine, and I love them packaged in a dollar store cellophane bag and paired with the punny tag I designed. To get the tags for FREE: click on the photo of the tag you want to use (below), save it to your computer/phone, and print it like a regular 4x6 photo.


Hosting friends/family this Valentine's Day??? This treat board is easy to make using dollar store supplies. Get the "how to" here.


I love a good holiday craft / diy, and this one is perfect for Valentine's Day. It's fun for adults... but simple enough for kids. Head to the dollar store, grab the supplies, and follow the instructions here.


I love a useful and thoughtful gift, and this one couldn't be easier to DIY. Grab a jar, decorate it, fill it with mix, and add the cute tag I designed (below). For step-by-step instructions, check out the video I made here.


To download the tags I used with this jar: click on the photo below, save it to your computer / phone, and print it like a regular 4x6 photo.


For a closer look at these ideas, check out the YouTube video I made (below).


I hope you enjoyed these ideas. Let me know which one is your favourite!

Happy Valentine's Day!


Gina Bell
 (aka East Coast Mommy)


Don't miss out on any of the fun... follow me on social media here.


If you are looking for more Valentine's Day inspiration, check out more than 30 Valentine's Day ideas here.

Genius Ways to DIY Clear Plastic Ornaments... including FREE tags and a super-fun video

I love DIYing during the Christmas season, and I have the BEST ideas to share today. There really is something for everyone in this post. You are going to love my GENIUS ways to DIY clear ornaments, the FREE tags I designed, and the step-by-step video I put together for you.


1) Photo ornaments - Cut two circles, roll them up, and insert them into an ornament, and add a ribbon. For step by step instructions, check out the video here.


2) Warm wishes ornament - The large clear plastic ornaments are perfect for filling with little gifts. I filled mine with socks, toe warmers, and hot chocolate. I added a "Warm Wishes" tag, and it makes an adorable gift. Find the full step-by-step instructions here.


To download the "warm wishes" tag I designed for free: click on the photo below, right-click, save it to your computer, and print it like a regular 4x6 photo.


3)  Christmas scrunchie ornament - Insert a holiday scrunchie into an ornament, add a piece of ribbon, and tie on a "Christmas Hair Don't Care" tag. To see the step-by-step instructions, check out the video here.


To download the "Christmas Hair" tag I designed for free: click on the picture below, right-click, save it to your computer, and print it like a regular 4x6 photo.


4) Gumball ornament - Use hot glue to attach an ornament to the top of a red silo cup shot glass, add a pop top, fill with gumballs (or pom poms for a non-food option), and tie a ribbon hanger to the top. For step-by-step instructions, check out the video I made here.


5) Merry and Bright ornament - Fill this "light bulb" ornaments with Christmas M&Ms, add a piece of twine, and attach the "May your days be MERRY & BRIGHT" tag I designed. For step-by-step instructions, check out the video I made here.


To download the "May your days be MERRY & BRIGHT" tags I designed for FREE: click on the picture below, right-click, save it to your computer, and print it like a regular 4x6 photo.


6) Keepsake ornaments - Fill ornaments with treasures you want to keep. I filled one with sea glass I found while walking the beach with my husband, and I filled other ornaments with the baby hats my boys wore just after they were born.


For a closer look at all of these DIYs, take a look at the YouTube video I made (below)...


All of these plastic ornaments are easy to make, and they are all fantastic. They are great for hanging on your own tree, and they make wonderful gifts too. Which one is your favourite?


Gina Bell (aka East Coast Mommy)

High End FALL Decor... on a dollar store budget / Clever money saving HACKs

I love adding seasonal decor to my home, and I really love doing it on a budget. I especially enjoy using what I have so I have less clutter in my home. Today I'm sharing a few of my clever money saving HACKs for Fall.


One of my favourite HACKs is to replace the artwork in frames that I already have in my home. For Fall, I designed a fun "hello pumpkin" print that you can download for FREE below. I absolutely love the colours!


To download the print for free: click on the picture below, right-click, save it to your computer, and print it like a regular 8x10 photo.


I also LOVE updating existing decor. For example, I made this simple grapevine wreath for summer. (It's just a grapevine wreath spray painted turquoise and embellished with faux flowers and greenery.)


When I found these adorable pumpkins (for ONLY $2) at my local Dollarama, I knew they'd be perfect for updating this wreath for Fall.


I used the clips to attach them to the wreath, and "voila!". I instantly turned a Summer wreath into a Fall wreath. Clever, right?!?!


Want a closer look at these products... and check out MORE ideas like this? Take a peak at the video below.


What colours do you love for Fall? Do you prefer traditional or untraditional colours (like the ones I used for my print and wreath)?


Gina
 (aka East Coast Mommy)

Don't miss any of the fun....