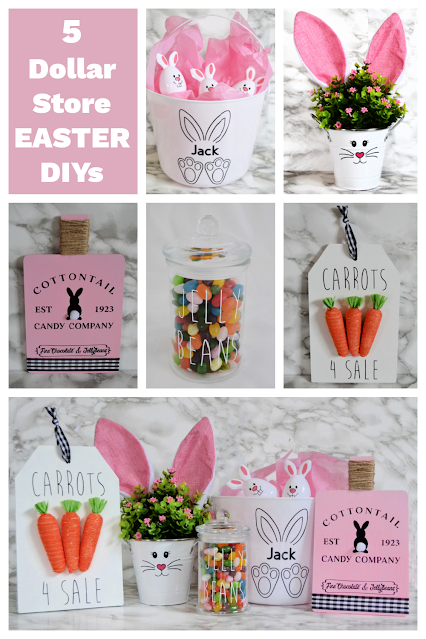
I love crafting with inexpensive materials... especially during the holidays. Today, I'm sharing five fantastic Easter DIYs you are going to love. They are easy to make, budget friendly, and super cute! No one will ever guess they only cost a few dollars to make.
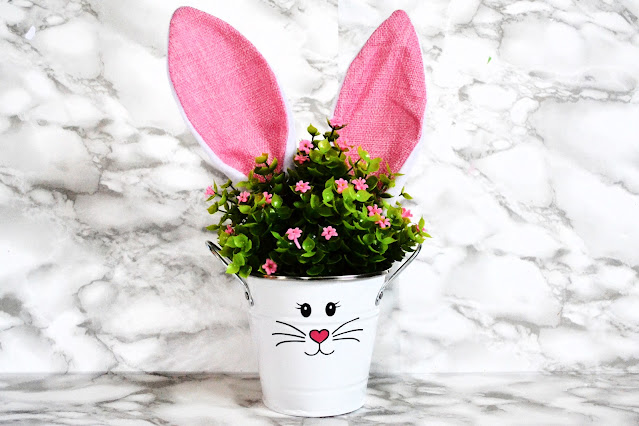
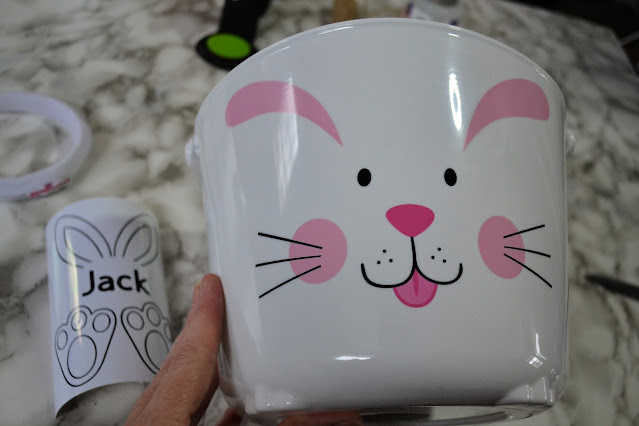
1) Bunny topiary - I am obsessed with this adorable Easter craft. I added a bunny face to a dollar store tin bucket. I used my Cricut to make a vinyl decal, but if you don't have a Cricut, you can use sharpies, stickers, or paint. Then, pop a dollar store plant into the bucket, and insert bunny ears into the greenery... securing with hot glue. (Note: I used scissors to the cut the bunny ears from a headband.)
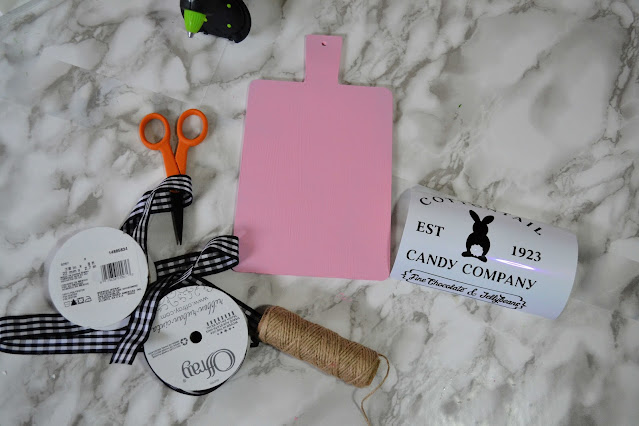
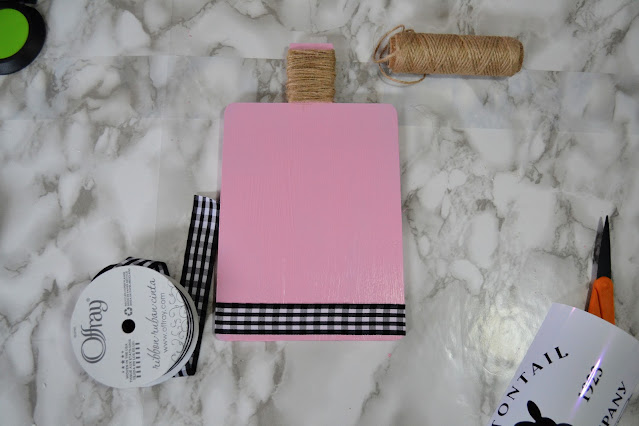
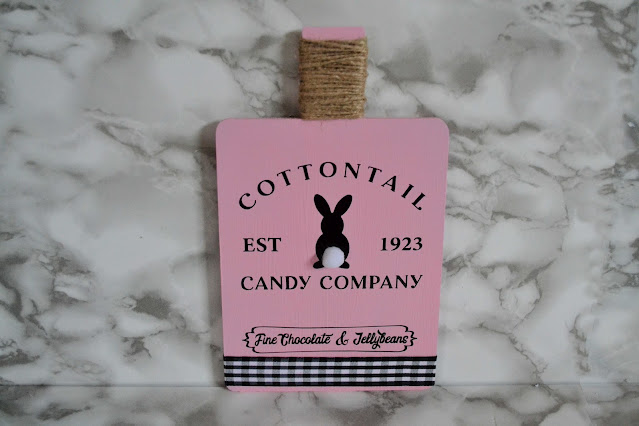
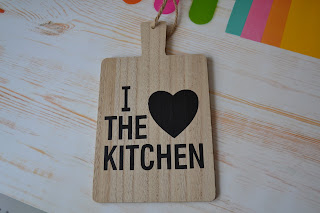
2) Easter cutting board - I purchased a dollar store cutting board turned it over, and painted the back (which is what I used as the new front) pink.
Then, I used hot glue to attached a bit of checkered ribbon to the bottom and a bit of twine to the top.
Add a cricut decal or paint, and that's it! I also added a pom pom tail to my bunny... but that's totally optional.
3) "Carrots 4 Sale" sign - I found this wi-fi password sign at my local dollar store, and I knew I could make it into something great.
I flipped it over and painted the back white. (Again... the back becomes the front.)
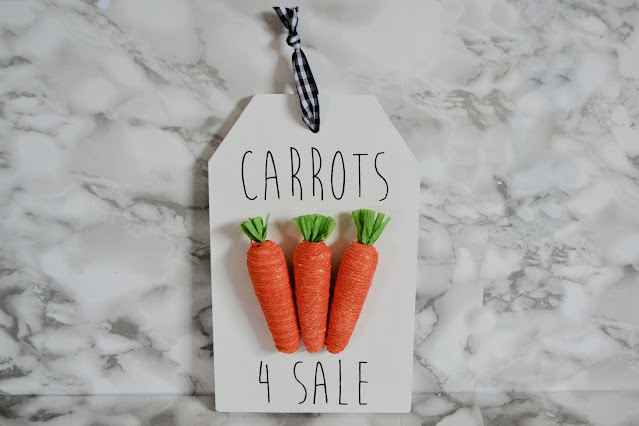
Then, I added the words "carrots 4 sale" using a Cricut vinyl decal. (If you don't have a decal, you can use a marker, stickers, or paint.)
Finish by using hot glue to attach dollar store carrots, and tie a piece of ribbon through the hole at the top.
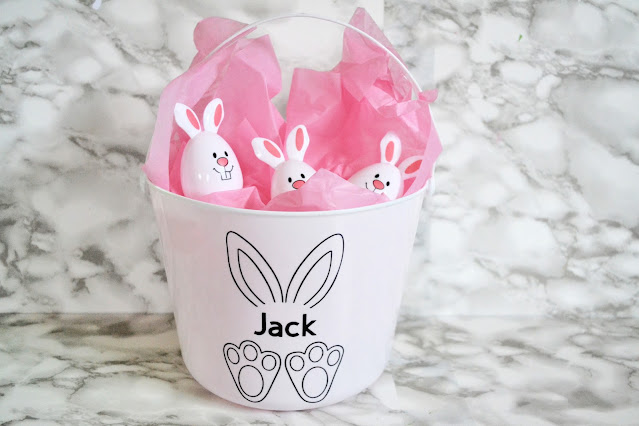
4) Personalized Easter basket - I found these adorable buckets at the dollar store, and I thought they would be even cuter if they were personalized.
I added a decal I made with my Cricut, attached it to the bucket, and added tissue paper and plastic bunny eggs (which were also from the dollar store). Cute, right?!?
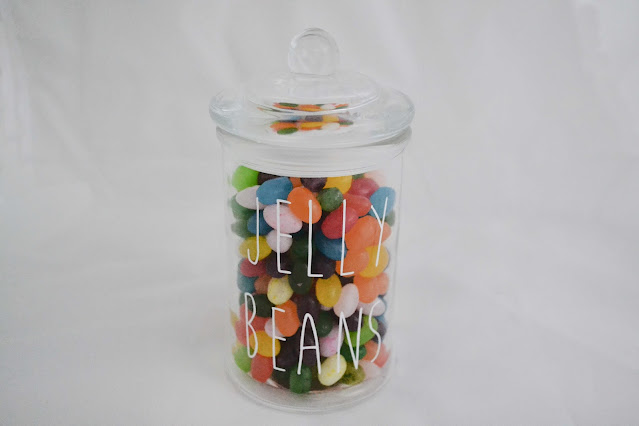
5) Jelly bean jar - I used a Rae Dunn inspired font to create this decorative jelly bean jar. I found this lidded jar at the dollar store, filled it with dollar store jelly beans, and added the words "Jelly Beans" with my Cricut.
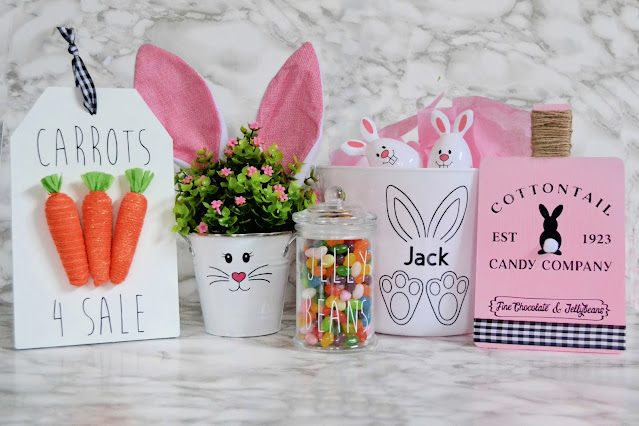
How cute are these 5 DIYs? I absolutely love them all, but the bunny topiary is my favourite. What do you think?
For a closer look at how I made these 5 Easter crafts, check out my YouTube instructional video here:
I hope you liked these easy and inexpensive Easter crafts. I hope I've inspired you to head to the dollar store, stock up on supplies, and make something great!
What's better than a quick and easy Easter DIY? How about a quick and easy Easter DIY that comes with a FREE print? When you see how high-end this budget-friendly piece of decor looks, you are going to want to make it ASAP.
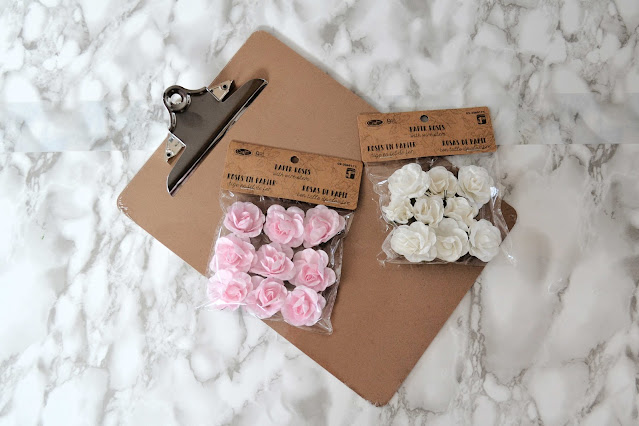
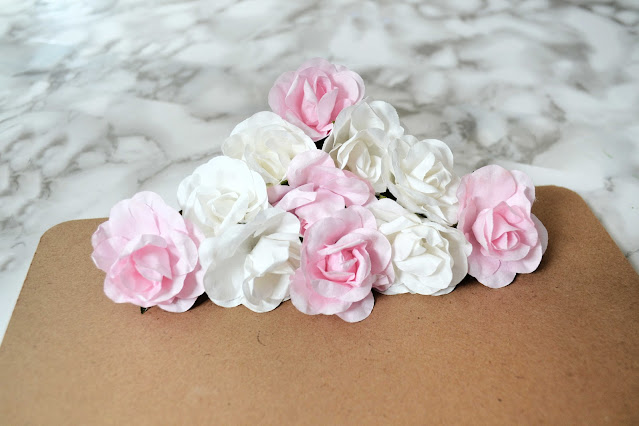
All you need is a dollar store clip board, some small fake flowers, and a bit of ribbon. I used adorable paper flowers I found at Dollarama, but you can use whatever you like.
Then, grab your hot glue gun, and (starting at the top), glue the flowers to the metal clip until the entire clip is covered.
You can leave it "as is", or you can use a bit of hot glue to add some ribbon to the bottom of the clipboard. I like the contrast between the light pink flowers and the black and white checkered ribbon... but you can create whatever suits your taste and decor.
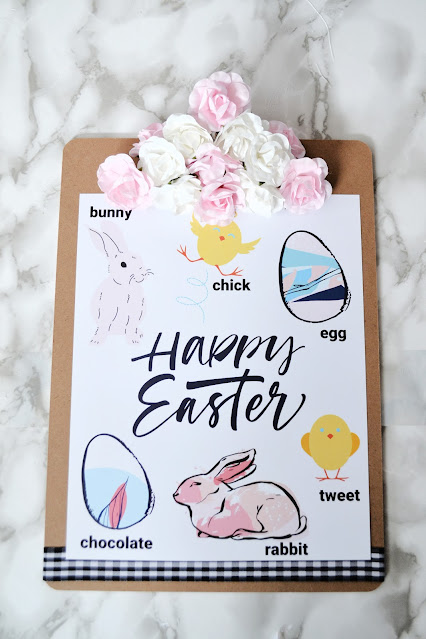
To finish, just add the Easter print I designed.
To download the print (for FREE):click on the picture below, right-click, save it to your computer, and print it like a regular 8x10 photo.
Doesn't it look cute with the DIY frame?
And... if you don't want to make the clipboard frame, you can just pop it in a regular frame.
For a closer look at how I made the quick and easy Easter DIY artwork, check out the short (2 minute) video below.
I am absolutely obsessed with this little clipboard. I think it would be darling hanging on a wall too. I might add a little wooden bead hanger to mine. What do you think?
Who doesn't love a festive (and inexpensive) piece of home decor for the holiday? I am currently obsessed with some of the cute Easter crafting supplies available at the dollar store. The little carrots and plastic bunnies are my current favourites. Today, I am sharing an adorable little Easter picture I made for just a few dollars.
To make the picture I made, you'll need: twine, scrapbook paper, alphabet stickers, tiny clothespins, carrot, plastic bunnies, and a cheap frame. Most of these items items came from the dollar store, but some of them came from my crafting stash. If you can't find the exact items, don't worry, you can use my picture as inspiration, and put your own spin at it. There are no rules when it comes to crafting! 😄
Start by inserting the scrapbook paper into the frame. I put mine on top of the glass so I could repurpose the frame at some point in the future.
Then, split the bunny (plastic chocolate egg) into two pieces, and attach to the paper with hot glue.
Use stickers to spell out "Happy Easter". (If you have a Cricut, you can use that instead, but I liked these colourful stickers that I found for $1.99.)
Finish by stringing twine across the top of the frame and attaching foam carrots with tiny clothespins.
Isn't it adorable? I love how it adds a bit of fun and whimsey to my Easter decor... and it was soooo cheap!
I hope I've inspired you to DIY something this holiday season. Feel free to switch up the colours and embellishments. Have fun with it!
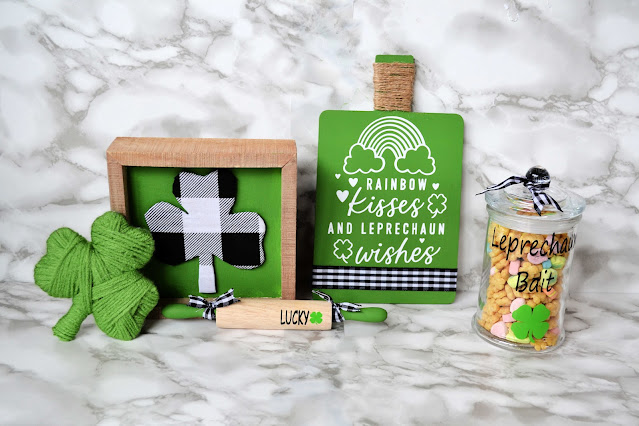
Looking for a couple of easy and inexpensive St. Patrick's Day crafts to add to your home decor this year? Today, I'm sharing 5 NEW St.Patrick's Day DIYs that you are going to LOVE! They are simple to make, use cheap (mostly dollar store) supplies, and look fantastic. Check out the written instructions (and easy to follow video tutorials) below.
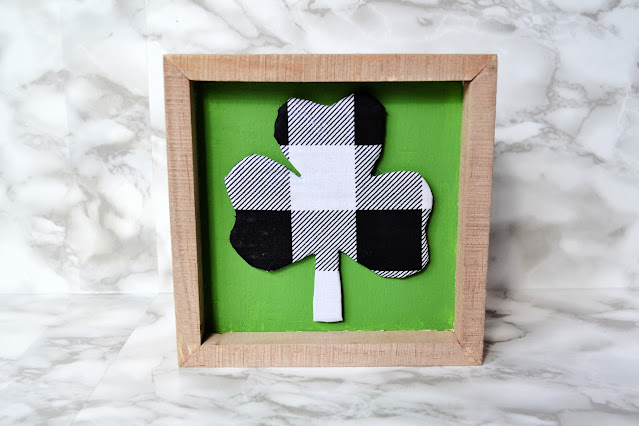
1) Fabric covered shamrock - I love this framed fabric shamrock. The mix of textures and colours really gives it a rich, high-end feel. To make it:
Paint the inside of a picture green.
Cut a shamrock from a cardboard box.
Put some mod podge on the front of the shamrock and lay it flat on a square of scrap fabric.
Use hot glue and scissors to wrap the fabric around the shamrock and secure it on the back.
Use hot glue to attach the shamrock to the frame.
Isn't it super-cute?
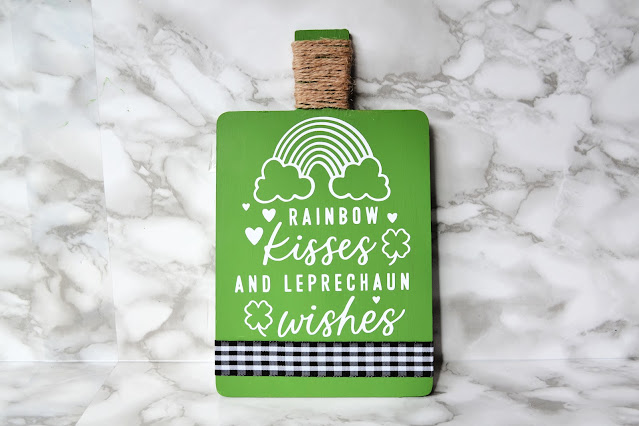
2) Dollar store cutting board update - I found this ugly cutting board at the dollar store, but I knew I could make it into something cute, so I threw it in my cart.
Then:
I painted both sides of the cutting board green.
I used hot glue to attach a strip of checkered ribbon to the bottom.
I used hot glue to wrap twine around the top of the board (and cover up the hole in the cutting board.
I created a vinyl decal on my Cricut and attached it to the front of my board.
If you don't have a Cricut, you could paint something, use decals or add stickers. What do you think? Is it better than what I started with?
3) "Lucky" rolling pin - These little rolling pins are great for crafting. I found mine for $2.29 in the toy aisle in a local store, but you can sometimes find them at the dollar store. There are also many inexpensive options on Amazon.
Then:
Paint the handles to match your St.Patrick's Day decor.
Add the word "LUCKY" and a shamrock. I used a Cricut, but a Sharpie or stickers would work too.
Tie bits of scrap ribbon the handles.
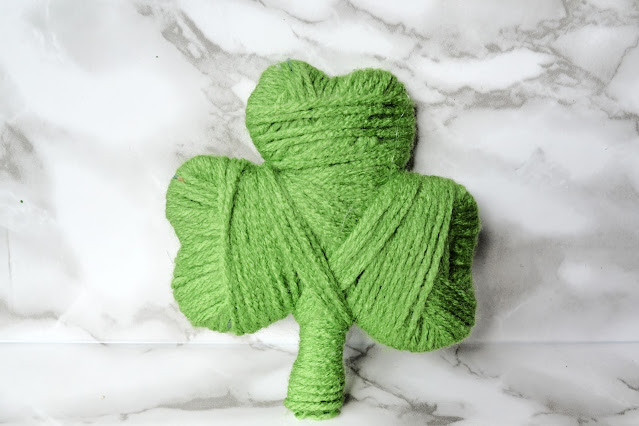
4) Yarn wrapped shamrock - This is a super-easy craft, and it's practically free.
Start by cutting a shamrock shape out of a cardboard box. I used an old Amazon box. You won't see the box, so any box will work.
Use hot glue to attach the end of a ball of yarn to the shamrock.
Start wrapping the shamrock with yarn... periodically securing the yarn in place with hot glue.
Continuing wrapping and gluing until the entire shamrock is covered.
You can turn these shamrocks into ornaments by adding yarn hangers, or you can leave them as is. I have some hanging on a fake tree in my house, AND I have one on my tiered tray.
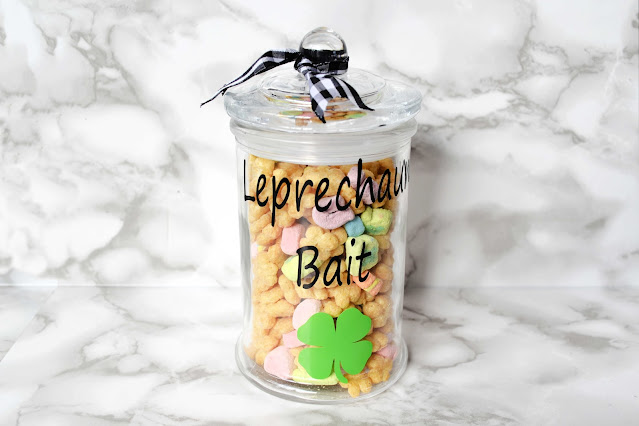
5) Leprechaun bait jar - Every holiday needs a treat, and leprechaun bait is perfect for St. Patrick's Day. To make this adorable goodie, you'll need a cheap candy jar from the dollar store. There are tons of options, but I like the shape of this one.
Then:
Use a Cricut, stickers, paint, or a glass marker to add the words "leprechaun bait" to the front of the jar. I also added a cute little Shamrock.
Fill the jar with "Lucky Charms" cereal.
Tie a bit of ribbon to the top of the jar.
That's it! You could add any treat you want to the jar, but I think the cereal looks really cute and festive.
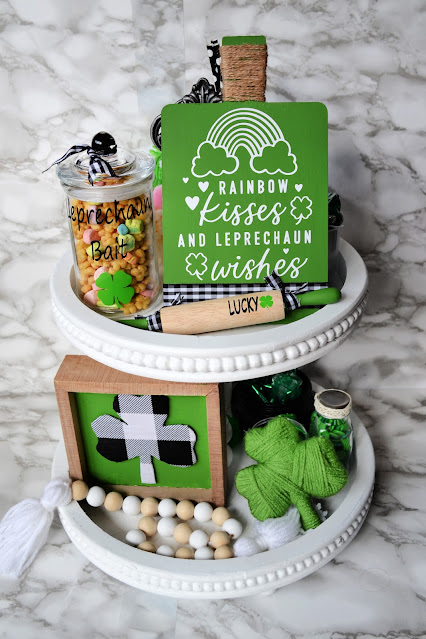
And here's how great the 5 DIYs look when they are all together. I love the mix of colours and textures, don't you?
And here's how they look on my tiered tray. (And if you like the little St.Patrick's Day picture sitting beside my tiered tray, you can download it for free here.)
For a closer look at all of these projects, you can check out the YouTube video I made here:
I hope you like all these easy and inexpensive St. Patrick's Day DIYs. Do you have a favourite? I like the fabric shamrock, but I REALLY like how they all look together on my tiered tray.
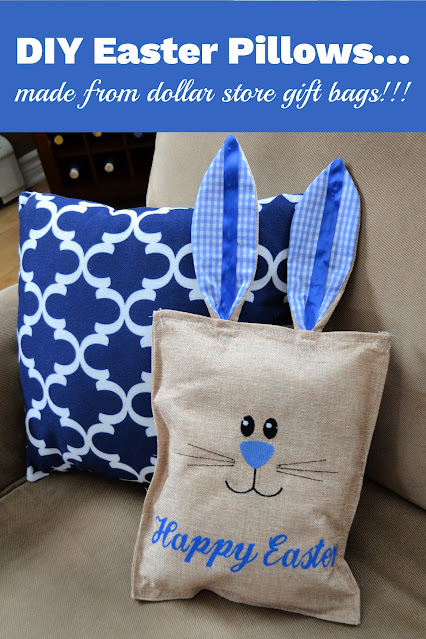
I love creating easy and fun pieces of holiday decor, and I'm getting lots of inspriation from my local dollar store this year. I've found tons of adorable EASTER items recently, but I was particularly drawn to a couple of adorable burlap bunny gift bags. I immediately thought they'd make cute Easter pillows, and today I'm sharing the "no sew" instructions. You won't believe how EASY, INEXPENSIVE and FUN these DIY Easter pillows are to make!
I started out with these two burlap gift bags.
Then:
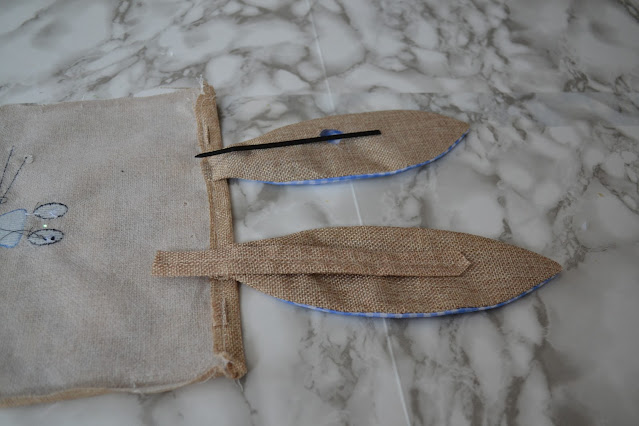
1) I used a seam ripper to separate the front and back of the bags from the sides. I cut off the handles to use.
2) On the back of the ears, I used hot glue to attached zip ties.
Or.. you could use popsicle sticks. You just need something to give the ears a little bit of structure.
3) Cover up the zip tie with a piece of the burlap handle and a bit of hot glue.
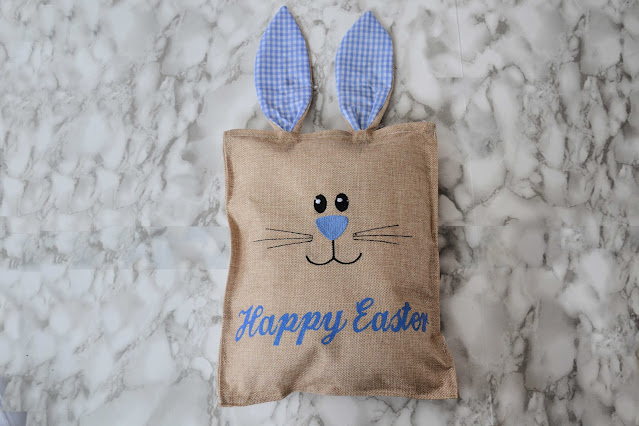
4) Use hot glue to attach the front and back pieces of the bags together... leaving an opening at the bottom for stuffing. Stuff the pillow, and use hot glue to seal the bottom together.
Pro-tip: Use the stuffing out of a dollar store pillow. It's great quality... and a lot cheaper!
Cute, right!?!
I made a pink one and a blue one, and they both look awesome on my couch. And, of course, I love that they only cost me a few dollars.
Need more info? Take a peek at this short YouTube instructional video I made.
What do you think of these little pillows? I can't wait to share more simple Easter DIYs with you. Make sure you subscribe to my free newsletter and YouTube channel so you don't miss out on any of the fun!
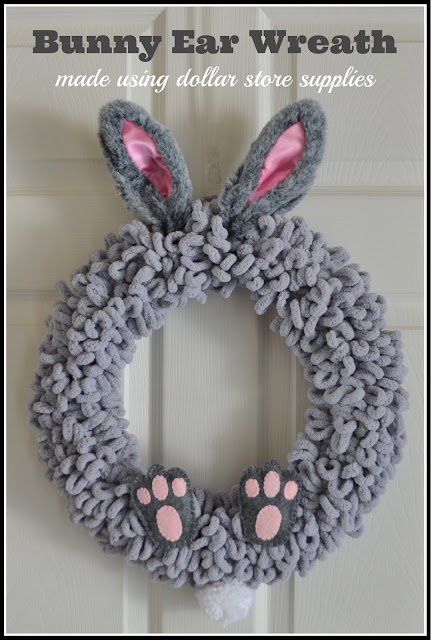
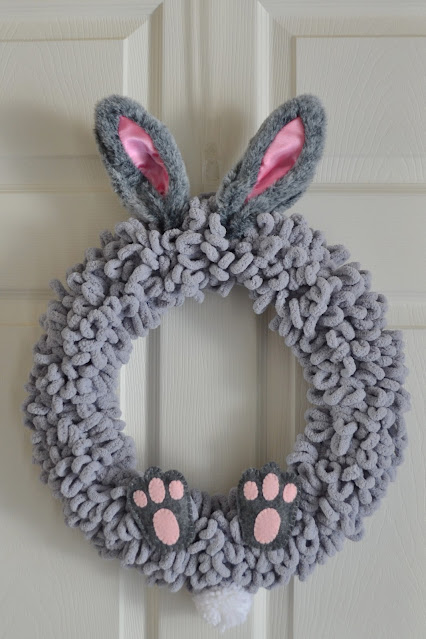
I am so excited to share this adorable Easter craft with you today. This bunny ear wreath is made from dollar store supplies, and it could not be easier to make. If you can wrap yarn around a wire wreath frame, you can create this super-cute yarn wrapped bunny ear wreath.
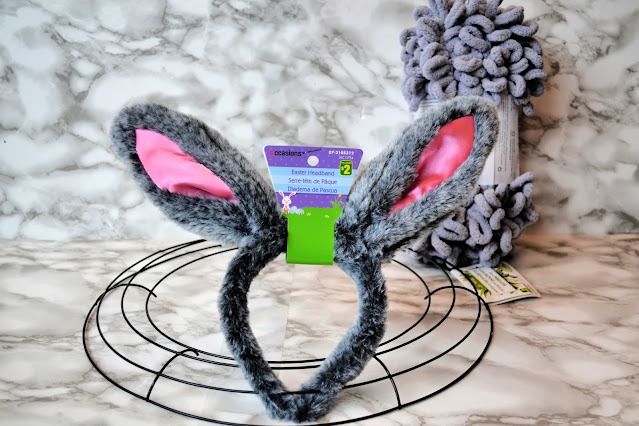
To make this wreath, you'll need: bunny ears, a wreath frame, zip ties, and yarn (I used just over 1 1/2 balls of yarn on a 14" frame). Optional... a pom pom for a tail and felt to make feet.
Then:
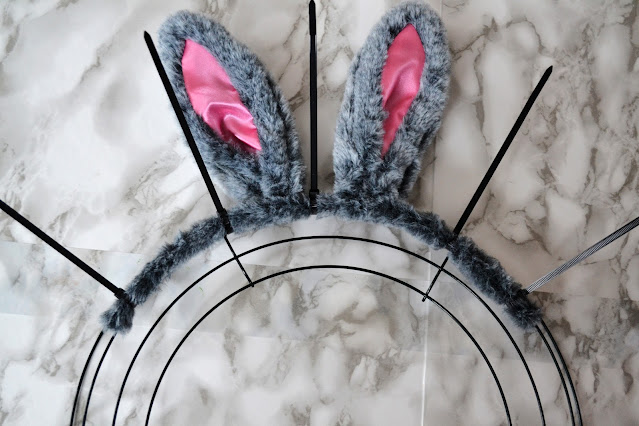
1) Use zip ties to attach the bunny ears to the top of the wire wreath form.
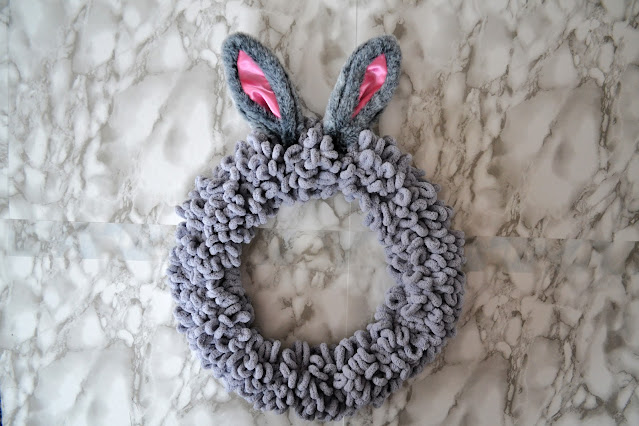
2) Tie one end of the yarn to the wreath form, and wrap the yarn around the wreath until the wire is completely covered. When it's completely covered, secure the end of the yarn with a couple of knots.
3) You can leave the wreath plain... or you can use hot glue to add a pom pom to the bottom and a couple of feet (made from felt) to the front. I added a pom pom and feet to mine, and I'm in love with how it turned out!
What do you think? Cute, right?!?
Want a closer look at how I made my yarn wrapped bunny ear wreath? Check out the short video I made...
DIY decor is the best because it is budget-friendly, fun to make, and easy to customize. I hope I've inspired you to make a wreath of your own. Happy Easter!