Harry Potter Party Games

Today I am sharing another one of the fun elements of my son's Harry Potter party... the DIY Harry Potter Party Games.  With 20 little guests, it was important to make sure there were plenty of great games to keep the little ones entertained.


We played 6 games.

1) Charms and spells class - I pretended to teach a class using the spell books and quills I made for the guests.  The children loved practicing the spells and trying them out on each other.  {You can download the spell book I created here.}


2)  Howarts Freeze dance - We played freeze dance using some spells from Harry Potter.  We used Tarantallegra to make legs dance uncontrollably and Petrificus Totalus to make the kids freeze like a soldier.

3)  Pin the Scar on Harry - I drew Harry Potter on a piece of bristol board and gave every child a scar to place on his head. 


4)  Bean Bag Toss - I made a simple beanbag toss using an old cardboard box.  {You can download a template of the head a drew here.}


5)  Wingardium Leviosa - The kids used the wands I made for them to try balloons in the air.

6)  Piñata - I made a simple piñata using a balloon and some paper mache.  Then, I drew a simple owl on it using a sharpie.  Easy peasy!


All the guest had fun with our Harry Potter games, and they were all easy and inexpensive to put together. It doesn't get much better than that!


Gina Bell (aka East Coast Mommy)

Alphabet Crafts - Letter A

Today my 4 year old and I started a fun alphabet adventure, and I am hoping you will play along with us.  Before my "baby" starts school in September, we are going to do a craft or activity for each letter.  We started with the letter "A" and made an adorable apple craft.


We started with a red paper plate, and we added a stem and a leaf.  Then, I cut a "worm hole" in the plate, and drew a little face on his finger.  He loved sticking the "worm" through the apple.

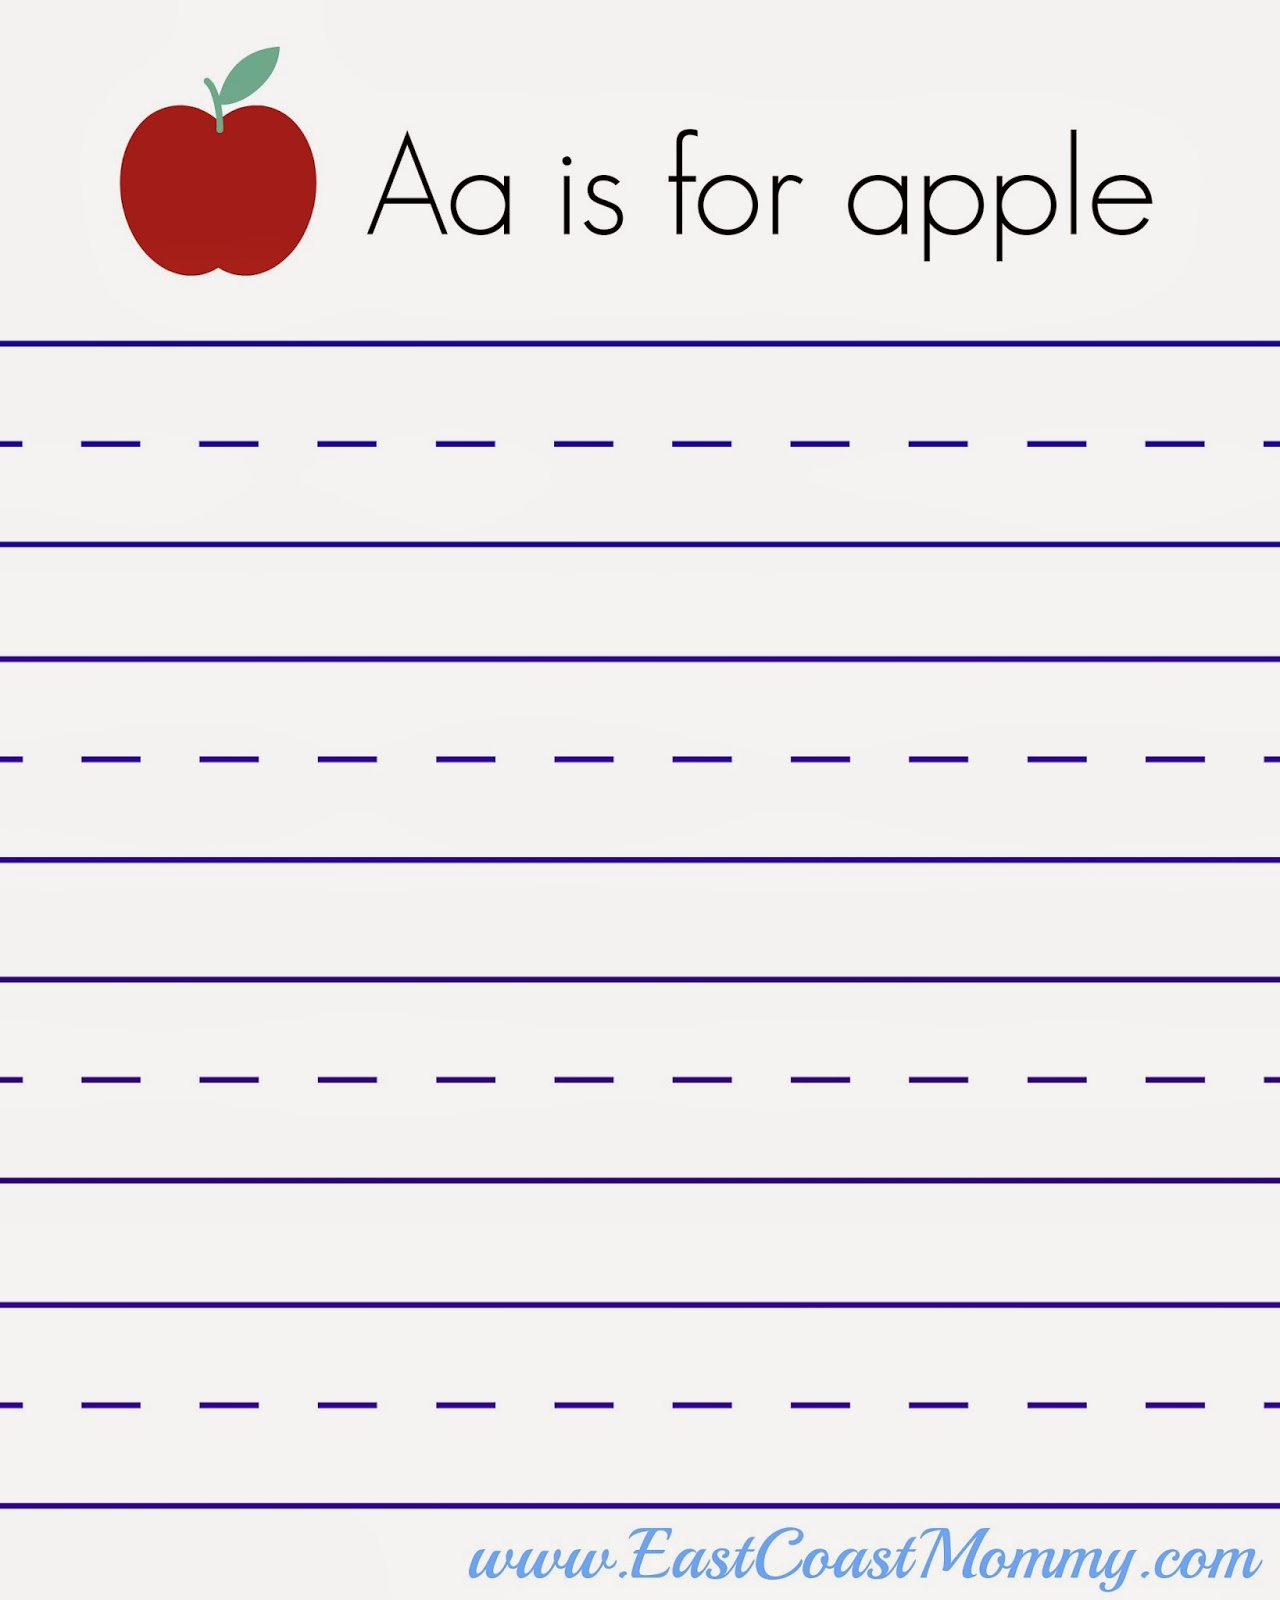
We also did a little printing practice.  You can right-click on the picture below, save it to your computer, and print it for your little one.


Are you interested in more letter A crafts?


You could try a ripped paper apple, which is made by ripping paper and gluing it to a card stock circle.


A letter A alligator is also cute. Start with a letter A, turn the A on it's side, and glue on eyes and teeth.


You could also decorate a letter A with crayons, markers or stickers. It's a simple way to work on letter recognition and fine motor skills.


These are all fun ways to learn about the letter A, don't you think?

Stay tuned!  The letter "B" will be coming soon.  :-)

♥ 
Gina Bell (aka East Coast Mommy)


Find more alphabet crafts here


Celebrating the Olympics {with kids}

Our family has really been enjoying the Olympics in Sochi, and today I am sharing 3 simple Olympic crafts that will help you celebrate the games with your kids.  I am also sharing a few ideas for fun Olympic treats. 


When it comes to Olympic crafts, it's all about the torch, the Olympic flag, and the medals.  Turn an empty paper towel roll into an Olympic torch by wrapping it in tin foil and adding some red and orange tissue paper flames.  


Or... cut some circles from cardstock, colour the circles, and add some ribbon or string to create adorable gold, silver and bronze medals. 


And finally... grab a piece of card stock, markers, and a craft stick to create a simple Olympic flag.  


Themed snacks are the perfect companion to any crafting sessions, and the Olympics provide the perfect snacking inspiration.  Try baking cupcakes in ice cream cones and adding fruit roll-up flames to create edible Olympic torches.  Cakes or cupcakes decorated with the Olympic rings are also fun options.  (You can find the instructions for this adorable Olympic cake here.)


As the games draw to a close, I am reflecting on all the valuable lessons that children can learn from watching athletic competitions.  The Olympics, as a worldwide competition, provide a unique opportunity to teach children about diversity, other countries, and different cultures.  The games also give parents a chance to nurture their children's sense of national pride and community.

I love that my boys are being exposed to new sports, the rewards of hard work, and the inevitable fact that sometimes people (even great athletes) don't always win.  We are watching the events together, as a family, and we have had some great discussions about these things.


I hope you enjoy some of these easy Olympic crafts and snacks with your family as you continue to celebrate the games.  I know our family will continue to watch and cheer, and I hope my boys learn some lessons about the importance of being active, the value of teamwork, and the grace that comes from exhibiting good sportsmanship.  GO CANADA GO!

♥ 
Gina Bell (aka East Coast Mommy)

You might also be interested in the FREE Olympic coloring pages here.

Simple Olympic Cake

Olympic fever has hit my house in a big way.  So... yesterday I baked a special treat for my boys -- an Olympic cake.  This cake was really easy to make, and my boys LOVED it!


I started with a cake mix and covered it with store-bought icing. Then, I made an Olympic flag from card stock, and I used yarn and paper straws to place it on top of the cake.  Finally, to add a bit of color, I trimmed the bottom of the cake with Smarties.

Fun, right? If your family loves the Olympics, you should totally make this cake. I think it would be really great to have it as a treat during the closing ceremonies. I might need to make a second one. ;-)


Gina Bell (aka East Coast Mommy)

Valentine Mailboxes {Crafts for Kids}

Do you remember making Valentine mailboxes when you were child?  Check out these 3 adorable mailboxes that you can easily craft with your little ones – a cereal box mailbox, a paper plate mailbox, and a paper bag mailbox.


Today, I am sharing all three Valentine Mailbox tutorials at CBC kids, and you can find them here.

Happy Valentines Day!


Gina Bell (aka East Coast Mommy)
Harry Potter Party Signage

Today I am sharing another fun element from my son's Harry Potter birthday party.  I absolutely loved the Harry Potter party signage I created (and it was all easy and inexpensive to put together).


The 9 3/4 Platform sign (and brick wall) that greeted guests as they arrived at the party was my absolute favorite.


For the 9 3/4 platform sign, I started with a piece of foamcore from the dollar store, I covered it with a piece of red bristol board, and I secured it around the edges with red duct tape. Then, I printed the number and letters on my computer, cut them out, and attached them to the sign.  (I finished the sign with a plastic chain I purchased at Halloween... but a piece of twine or ribbon would work too.)


To make the brick wall, I started with a white paper tablecloth (backed with plastic) from the dollar store.  Then, I dipped a sponge in red paint, and pressed it onto the tablecloth to make a "brick".  I repeated this process until the entire tablecloth was covered.


I also had signs for the different "shops" from Harry Potter.  I had one for Flourish & Blotts, one for Madam Malkin's Robes for All Occasions, and one for Ollivander's.  I printed them on my computer, and framed them in inexpensive red frames (from the dollar store).


Finally, I made a bright and cheerful sign for Honeydukes Sweet Shop.  I started with a piece of foam core from the dollar store, and I trimmed the edges with duct tape.  Then, I printed the letters on my computer, cut them out, and attached them to the sign.


I thought these signs were a lot of fun and really helped the guests feel like they were transported to the world of Harry Potter.  I loved them all, but the Platform 9 3/4 signage was definitely my favorite. What do you think?

And... if you want to see the rest of the Harry Potter Party details (including our invite, food and cake ideas, and party activities), you can check them out here.


Gina Bell (aka East Coast Mommy)


You might also like the fun party ideas here.

Simple Teacher Valentine... with free printable tag

It's the time of year when my boys head off to school with special Valentines for all of their classmates, and of course, they want special Valentines for their teachers too.  So, this year I designed a little tag that they can attach to a box of chocolates or some homemade cookies.


I love how simple and cute this idea is, don't you?  You can "right click" on the tag below, save it to your computer, and print it like a regular 4X6 photo.


And... little ones can write a little note to their teacher on the back of the tag to make it even more special.

Do your children like to bring valentines to their teachers?


Gina Bell (aka East Coast Mommy)

Don't miss any of the fun....