Given that I was making these finger puppets for children, I wanted to make the designs simple and colourful. Below you will find some close ups of (and instructions for) my cheerful designs.
How cute is this felt dinosaur finger puppet? I cut two dinosaur shapes (a top piece and a bottom piece) from a bright colour of felt. I cut teeth from a piece of white felt and stitched them in place. I stitched the top and bottom pieces together, stuffed a bit of cotton into the head, and used hot glue to attach googly eyes.
And, given that my three boys are huge Star Wars fans, I designed a cute felt R2D2 finger puppet. I started with two pieces of white felt (cut into the shape of R2D2). Then, I stitched on the blue details (which are simple shapes) and a red dot. I finished by stitching the front and back pieces together.
Next, I designed an adorable baby bird finger puppet. I cut two pieces (a front and back) from a piece of yellow felt. Then I stitched on a felt triangle orange beak and two colourful felt wings. I finished by gluing on two googly eyes.
This simple felt mouse finger puppet is another cute option. I started by cutting two pieces (a front and a back) from grey felt. Then, I stitched two pink pieces onto the ears. I used hot glue to attach two googly eyes, and used fabric paint to draw a nose, mouth and whiskers. I finished by stitching the front and back together.
This felt owl finger puppet is also fun, and it can be made using different colour combinations. I started by cutting two pieces of felt into the shape of an owl. I stitched two wings and a beak onto the front piece. Then, I stitched the front and back pieces together, and used hot glue to attach two googly eyes.
This Minion felt finger puppet is a simple design, and kids will love it. I cut two pieces (a front piece and a back piece) from yellow felt, I stitched a black band to the front piece, and I stitched the front and back pieces together. Then, I used hot glue to attach a googly eye, and I used fabric paint to draw a mouth. I finished by tying a thread of "hair" to the top.
Monkeys are always cute and loveable, so I adore this little felt monkey finger puppet. I cut two pieces from brown felt (a front and a back piece), I stitched a white face onto the front piece, and I stitched the front and back pieces together. Then, I used hot glue to attach two googly eyes and fabric paint to draw a nose and mouth.
This little bird is decorated on both sides, and is super-cute. I cut two bird shapes, stitched a wing on each side, stuck a beak in between the two sides, and then sewed the two sides together (leaving a space for a child to insert a finger). I finished by adding an eye on each side with fabric paint.
I made 50 finger puppets and sent them to a sick kids' hospital. It was a wonderful feeling to pop them in the mail, and I highly encourage you (or your children) to do the same. Here is where I sent mine:
Volunteer Resources
Level 2 - Women's Building
IWK Health Centre
5850/5980 University Avenue,
Halifax, NS B3K 6R8
*NOTE: Some hospitals (like the one I sent mine too) have rules about having detachable pieces (like eyes and buttons) attached to puppets, so if you are planning to donate the puppets, use fabric paint instead of googly eyes.
These finger puppets would also be wonderful for putting inside plastic Easter Eggs. They will last longer than chocolate... and they are healthier too! I think the little chick would be an adorable Easter option.
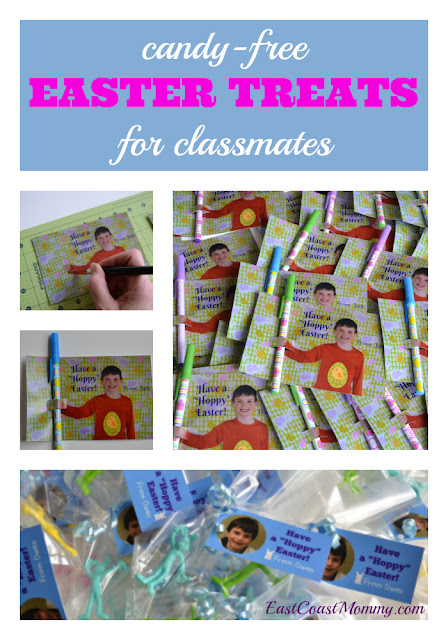
And wouldn't they be cute to give away as class treats or to use as loot bags / goodie bags?
These finger puppets are wonderful projects for moms and kids who are beginners when it comes to sewing. The designs are simple, and the felt is super-easy to work with. Happy stitching!
♥
Gina (aka East Coast Mommy)
Update: I just sent another 30 to the hospital. These two designs are perfect because they don't have any small parts, buttons, etc...


