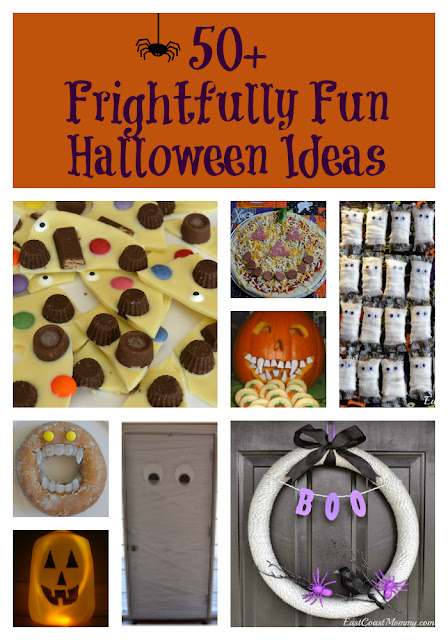
I absolutely love the ideas I'm sharing today. Treats really are the best part of Halloween, and today I have 15 treat ideas that are simply genius! I also have a fun video for you and FREE downloadable tags. Keep reading to check out all the fun.
.png)
1) Chocolate bar mummies - This is such an adorable and simple idea. Wrap chocolate bars in streamers, and add googly eyes. Full instructions here.
.jpg)
.jpg)
2) Halloween glasses with punny tags - These are great for kids when allergies are a concern. And the tag I designed is free to download. Find the tag below, and more detailed instructions here.

To download this tag: click on the photo below, right-click, save it to your computer, and print it like a regular 4x6 photo.

3) Glow sticks with a sweet tag - This is a perfect (and useful) Halloween treat. It's a lovely little light for Halloween night. Download the tag for free below... and get a clower look at how I put it together here.

To download this tag: click on the photo below, right-click, save it to your computer, and print it like a regular 4x6 photo.
.png)
4) Tic Tac Toe Treat - This free board makes a great Halloween treat. Just print it and pair it with buttons or coloured candies. See how it works here.

To download a printable version of this game: click on the photo below, right-click, save it to your computer, and print it like a regular 4x6 photo.

5) Play dough with a punny tag - Pop the playdough in a bag, tie with a ribbon, and add the tag I designed. Grab the free tag below, and find the "how to" here.

To download this tag: click on the photo below, right-click, save it to your computer, and print it like a regular 4x6 photo.

6) Sucker ghosts - I made these as a child, and I'm sharing my version here. They are simple to make... and so stinkin' cute!


7) "Eat, drink, and be scary" straws - This is a simple DIY. Download the tag below, and tie it to a reusable straw. That's it, but if you need a closer look at how I did it, you can check out the video here.

To download this tag: click on the photo below, right-click, save it to your computer, and print it like a regular 4x6 photo.

8) BOO-bles - Bubbles with a punny tag become BOO-bles. :-) Download the tag for free below.

To download this tag: click on the photo below, right-click, save it to your computer, and print it like a regular 4x6 photo.

9) Halloween cookie decorating kit - This is a fun gift AND a fun activity. Package the following in a mason jar: cookies, icing (in a condiment container), and sprinkles (in a condiment container). Then, add the tag I designed (below).


To download this tag: click on the photo below, right-click, save it to your computer, and print it like a regular 4x6 photo.

10) Fangs - I found this fang whistle at the dollar store, but any "fang" trinket would work. Just pair it with the FANG-tastic tag I designed (which you can download for free below).

To download this tag: click on the photo below, right-click, save it to your computer, and print it like a regular 4x6 photo.

11) Disposible gloves filled with candy - This is such a fun packaging idea. I even included a fun sign you can download for free below.

.jpg)
To download this sign: click on the photo below, right-click, save it to your computer, and print it like a regular 8x10 photo.

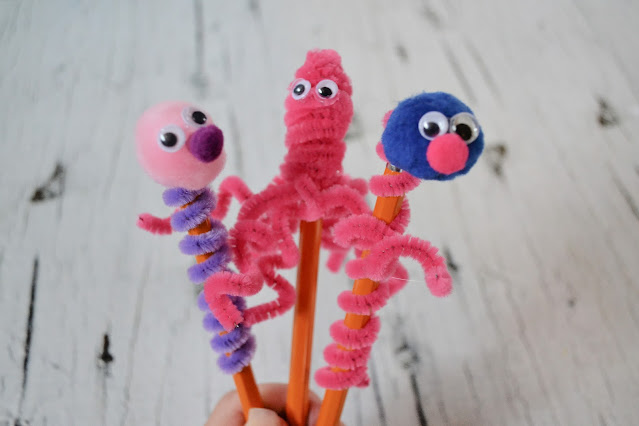
12) Photos with trinkets - I love a personalized treat, and these are adorable. Take a photo of a child with their arm extended. Then, cut a slit above and below their fist. Finish by inserting a pencil or small toy. Cute, right?!?! (Note: I used a dollar store tablecloth as a backdrop for the pictures.)


13) Graham cracker bandaids - Cut a graham cracker in half, add white icing, and finish with a smear of red gel icing. These bandaid cookies would be adorable to serve to family and friends.

14) Vampire donuts - Take store bought donuts up a notch. Use icing as glue to attach candy eyes, and insert dollar store vampire teeth into the centre of the donut. Serving a tray of these at a Halloween party is guaranteed to impress.
.jpg)
15) Halloween bark - These treat looks impressive, but it's super-simple to make. Melt white baking chocolate according the package directions, spread it out over a piece of wax paper, and top it with whatever candy pieces you have on hand. Allow it to cool, break it in pieces, and serve it to family and friends. Easy peasy!
.jpg)
For a closer look at all 15 Halloween Treat ideas, check out the video I made...
What do you think of these treat ideas? Which one is your favourite? I hope you give one or two of them a try this year. Happy Halloween!
.png)


.jpg)

.jpg)

.jpg)

.jpg)
.jpg)