For many years, our family has been going on a "Polar Express" Christmas Light Adventure, and it's one of my favourite holiday traditions. It's simple, but a lot of fun!!! (Note: Don't forget to download the UPDATED ticket I designed for you. Get if for FREE below.)
In order to embark on your own Polar Express adventure:
1) Print the tickets I designed for you.
2) Grab some hot chocolate, cookies, and popcorn.
3) Hop in your vehicle, turn on Christmas carols, and drive around looking at Christmas lights.
To print one of the Polar Express tickets I designed:right-click on the picture below, save it to your computer, and print it like a regular 4X6 photo.
Then, when the trip is over and you've chosen the winner of the "best lights in town", the kids find bells from Santa's sleigh on their pillows. Pretty fun, right?
This really is one of our family's favorite holiday traditions, and I highly recommend giving it a try.
♥ Gina (aka East Coast Mommy)
Find more ideas for easy and inexpensive Christmas family fun here.
I love DIYing during the Christmas season, and I have the BEST ideas to share today. There really is something for everyone in this post. You are going to love my GENIUS ways to DIY clear ornaments, the FREE tags I designed, and the step-by-step video I put together for you.
1) Photo ornaments - Cut two circles, roll them up, and insert them into an ornament, and add a ribbon. For step by step instructions, check out the video here.
2) Warm wishes ornament - The large clear plastic ornaments are perfect for filling with little gifts. I filled mine with socks, toe warmers, and hot chocolate. I added a "Warm Wishes" tag, and it makes an adorable gift. Find the full step-by-step instructions here.
To download the "warm wishes" tag I designed for free:click on the photo below, right-click, save it to your computer, and print it like a regular 4x6 photo.
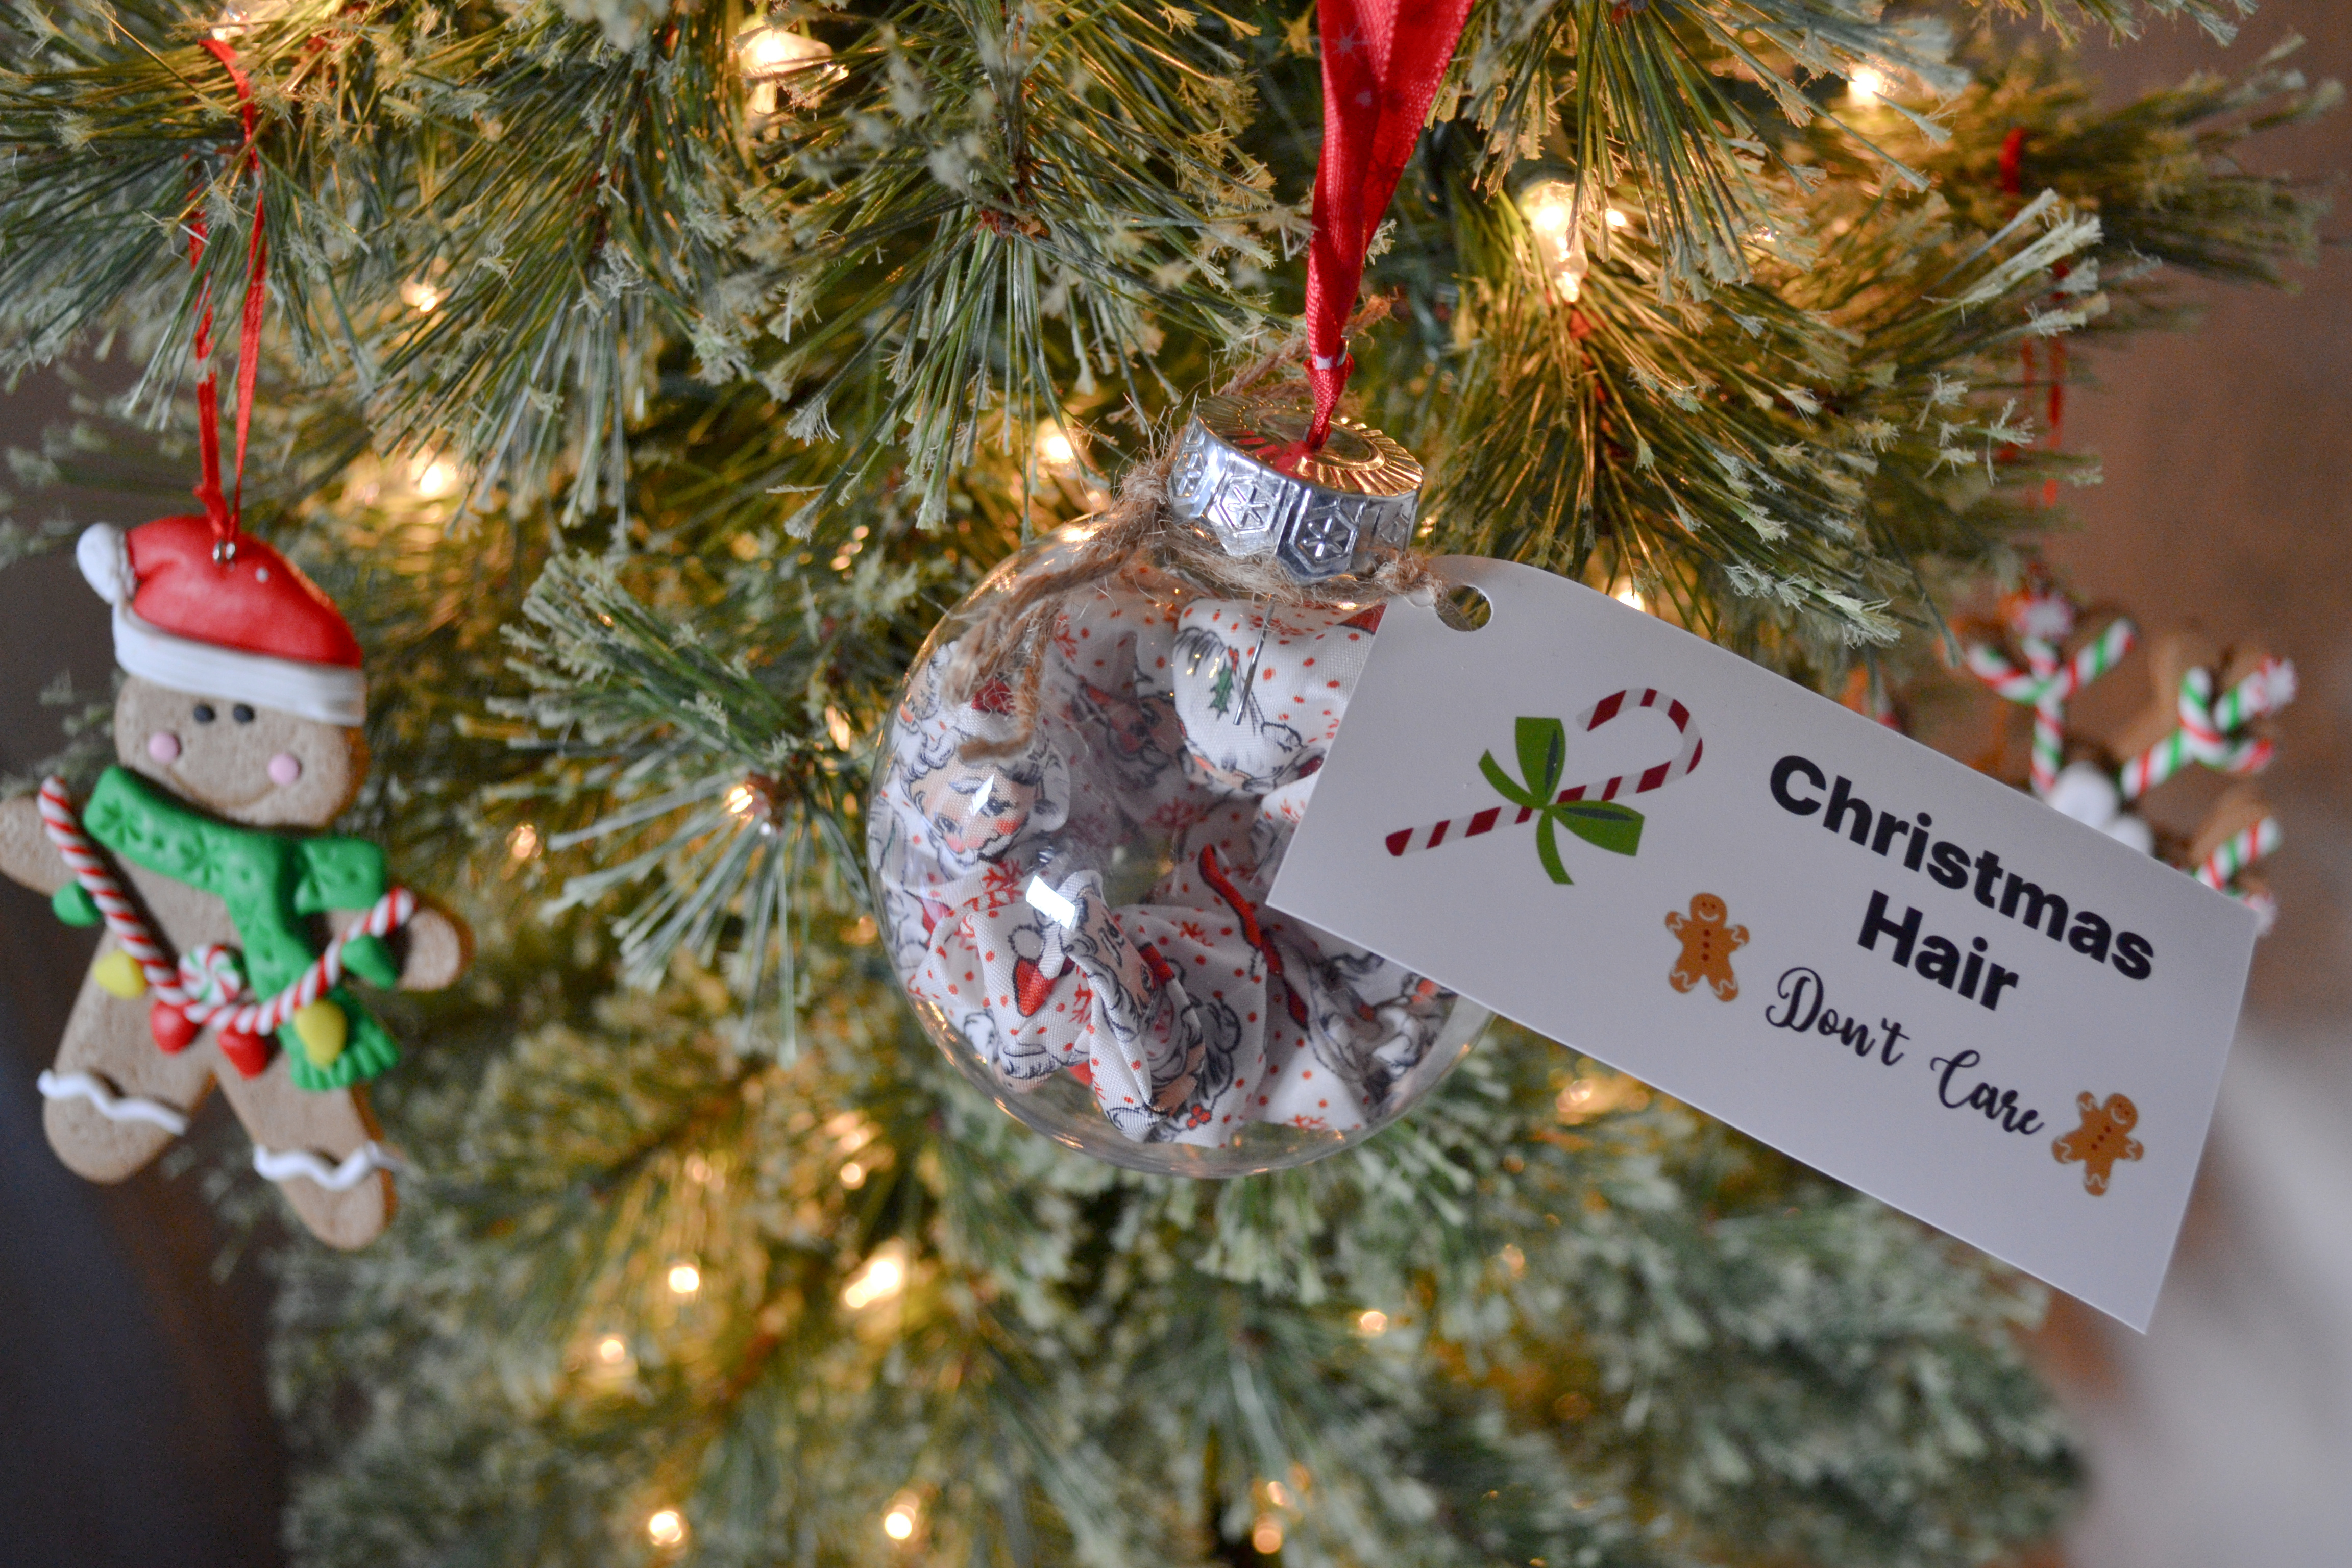
3) Christmas scrunchie ornament - Insert a holiday scrunchie into an ornament, add a piece of ribbon, and tie on a "Christmas Hair Don't Care" tag. To see the step-by-step instructions, check out the video here.
To download the "Christmas Hair" tag I designed for free:click on the picture below, right-click, save it to your computer, and print it like a regular 4x6 photo.
4) Gumball ornament - Use hot glue to attach an ornament to the top of a red silo cup shot glass, add a pop top, fill with gumballs (or pom poms for a non-food option), and tie a ribbon hanger to the top. For step-by-step instructions, check out the video I made here.
5) Merry and Bright ornament - Fill this "light bulb" ornaments with Christmas M&Ms, add a piece of twine, and attach the "May your days be MERRY & BRIGHT" tag I designed. For step-by-step instructions, check out the video I made here.
To download the "May your days be MERRY & BRIGHT" tags I designed for FREE:click on the picture below, right-click, save it to your computer, and print it like a regular 4x6 photo.
6) Keepsake ornaments - Fill ornaments with treasures you want to keep. I filled one with sea glass I found while walking the beach with my husband, and I filled other ornaments with the baby hats my boys wore just after they were born.
For a closer look at all of these DIYs, take a look at the YouTube video I made (below)...
All of these plastic ornaments are easy to make, and they are all fantastic. They are great for hanging on your own tree, and they make wonderful gifts too. Which one is your favourite?
I love a good DIY gift, don't you? They are thoughtful, useful, inexpensive and fun! And... they are more budget-friendly than store bought gifts. You are going to love the DIY Christmas Gift Ideas I'm sharing today.
1) Elf Cookies - First bake up a batch of your favourite cookies. I used my favourite recipe for Ginger Molasses cookies. You can find the recipe here.
Then, add a cardstock hat, googly eyes, button cheeks and a Sharpie mouth. Find the full step by step instructions here.
Seriously... how cute are these little elves???
2) Scrunchie ornament - A clear bulb is a perfect vessel for gifting a Christmas hair scrunchie. Pop off the top of a dollar store ornament, insert a scrunchie and add the cute "Christmas Hair Don't Care" tag I designed. Easy peasy!
To download the tags I designed (for free):click on the photo below, right-click, save it to your computer, and print it like a regular 4x6 photo.
3) Glowing nativity lamp - These colour changing LED lamps (that I found at Dollarama) are the perfect canvas for Cricut decals. I used nativity decals. Didn't they turn out great?
For detailed instructions, check out the video I made here.
4) Gingerbread house gift bag - Cut the corners from brown paper gift bag, and use a chalk marker to decorate the bag to look like a gingerbread house. It doesn't need to be fancy. Have fun with it!
5) Reindeer gift bag - Start with a plain paper gift bag. Then, use glue to add googly eyes, and a red paper (or vinyl) nose. Then, draw a mouth with a Sharpie and tape candy cane "antlers" to the top of the bag. Who wouldn't want to receive a gift in this adorable reindeer gift bag?
For a closer look at all these DIY gift ideas, check out the YouTube video below.
Make sure you come back soon. I have a lot more fun Christmas content planned.


.png)


.jpg)
.jpg)


.png)


.jpg)
.jpg)
