5 Easy and Inexpensive Gifts to Make Using a Cricut

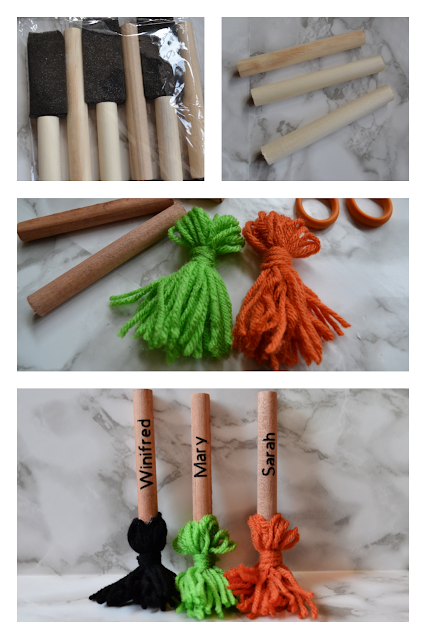
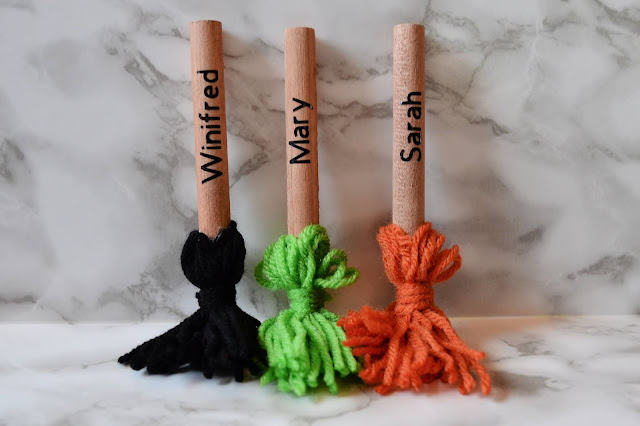
Homemade gifts are fantastic because they are unique, customizable, and budget-friendly. And, if you have a Cricut, you can easily make wonderful gifts that the recipient will love. Today, I'm sharing FIVE easy and inexpensive gifts you can make using a Cricut.


1) Christmas Ornaments - Personalized tree ornaments make great Christmas gifts. For my boys, I purchased hockey SVGs from Etsy, printed them out on permanent black vinyl, and added them to wood slices. I also added their hockey numbers with white vinyl.

Inserting a baby hat into a plastic bulb, and adding personal details with vinyl, is fantastic idea too!


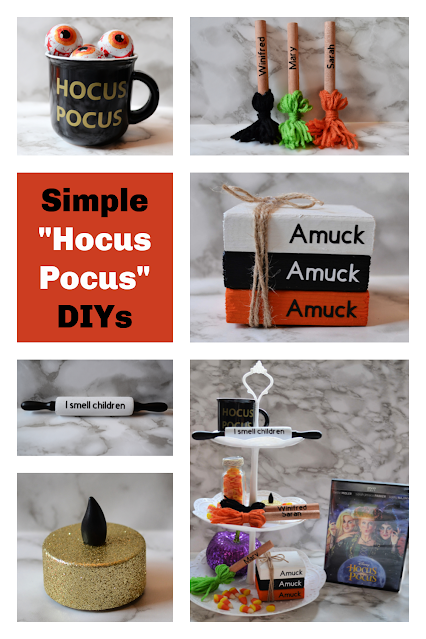
2) Personalized Drinkware - Bottles and glasses are practical and useful, and they are really fun if they are personalized. I made water bottles for my son to give with his friends, and their names and the logo for his YouTube channel. It's also easy to customize wine glasses, beer mugs and coffee cups.


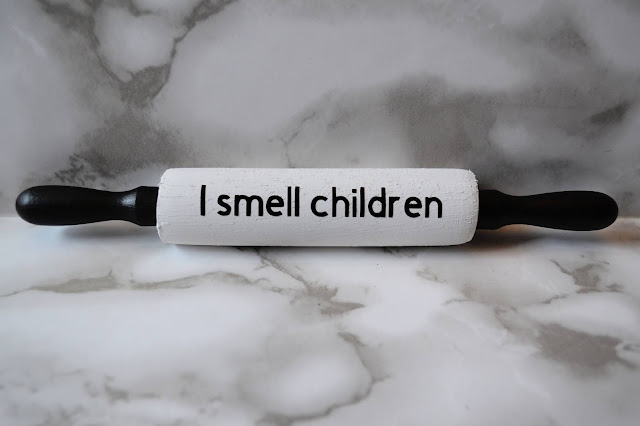
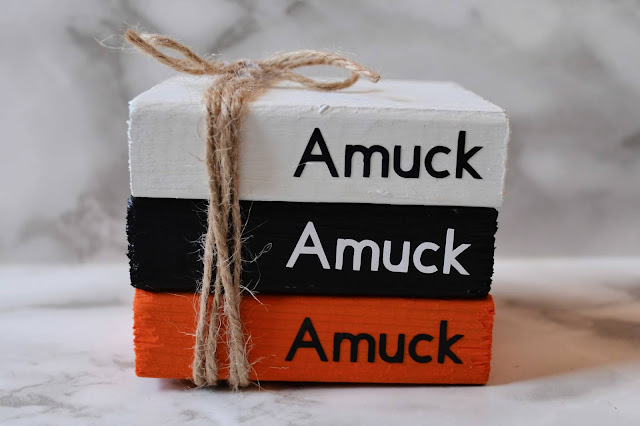
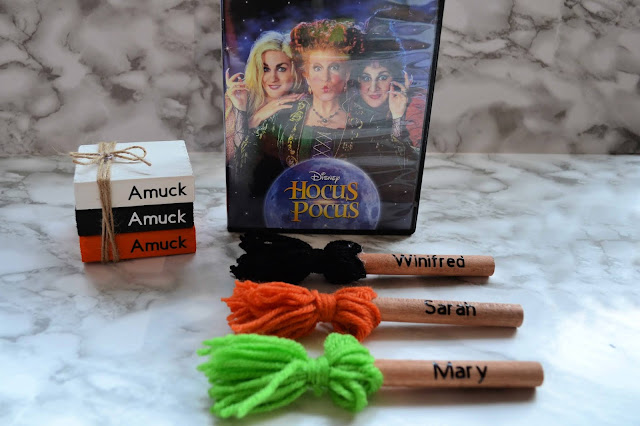
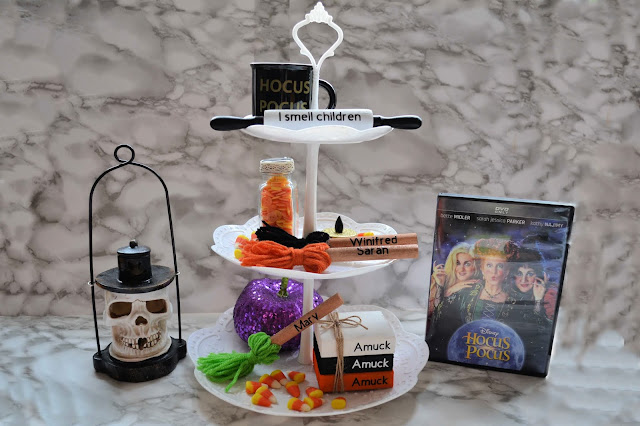
3) Home Decor - A Cricut allows you to create simple and inexpensive signs, wreaths, and other home decor items. Search Pinterest for ideas, gather some supplies from the dollar store, and get to work!


4) Gift Baskets - Personalized reusable containers filled with goodies make THE BEST gifts. I like to personalize popcorn bowls and s'more buckets. Cute, right?!?


5) Personalized Jars - Upgrading dollar store jars with a Cricut is a wonderful way to create a personalized and thoughtful gift. It's a lot of fun to make personalized cookie jars for the baker in your life. Memory jars are fantastic too!


Aren't homemade gifts the best? I love a unique gift, and the Cricut machine makes it extra easy. Which of these Cricut gifts are your favourite? I love them all!


Gina Bell (aka East Coast Mommy)

DIY HOCUS POCUS Tiered Tray

I love decorating a tiered tray for each holiday, and Halloween is no exception. It's the perfect time for a few easy and inexpensive DIY projects.  This year, I decided to spend an afternoon decorating my tiered tray with a "Hocus Pocus" theme. Check out the simple Hocus Pocus DIYs below.


1) Hocus Pocus Mug - I found a tiny black expresso mug at the dollar store and used my cricut to write "Hocus Pocus" on the outside. If you don't have a cricut, you could use a dollar store glass marker or alphabet stickers.


2) "I Smell Children" Rolling Pin - I found a toy rolling pin, and I painted the ends black and the main part white (using dollar store craft paint). Then, I added the words "I smell children" with my cricut. You could also use alphabet stickers or a sharpie.


3) The 3 Sisters' Brooms - I am absolutely in love with these little brooms, and they are really EASY to make. For each broom, I started with a foam paint brush from the dollar, and I ripped off the foam. Then, I wrapped yarn around my hand 20 times, tied a piece of yarn 3/4 of the way down, wrapped the yarn around a few times, tied it again, and cut the loops at the bottom to make a tassel. I finished by using hot glue to attach the tassel to the paint brush handle. (If you have never made a tassel before, you should watch the video I made here.)

I made three different brooms, and I added the names of the sisters from Hocus Pocus to the brooms with my cricut, but you could also use a sharpie or alphabet stickers.


4) "The Black Flame" candle - This was the easiest DIY ever. I took a glittery dollar store (battery operated) candle, and used black craft paint to paint the flame. Easy peasy! 


5) Scrap Wood Bookstack - I love book stacks on tiered trays, and I made this "Hocus Pocus" version using three equal sized blocks cut from a scrap piece of wood. I painted one piece white, one black, and one orange. Then, I added the words "Amuck Amuck Amuck" using my cricut (but you could use stickers, a sharpie, or a paint pen). 

Then, I stacked the wood pieces, wrapped a piece of twine around the books, and secured the twine with hot glue. I think they are my favourite item on my tray. They are tiny and adorable!


Aside from the items I crafted for my tray, I filled in the blank spaces with a few dollar store trinkets. What do you think about my DIY Hocus Pocus tiered tray? 


I also made a little video detailing how to craft all the items on my tiered tray. You can watch the "how to" video here.


It looks adorable on my hall table, and I think it would be great decoration for a Halloween movie night. Don't you?


Gina
 (aka East Coast Mommy)


You might also like the 50+ Halloween Crafts, Recipes, Decorations, and DIYs here.

EASY Jack-O-Lantern Lava Lamp

Sometimes simple ideas are the best ones, and this DIY Jack-o-Lantern lava lamp is a fantastic (and easy) Halloween activity. It's a lot of fun, and you likely already have everything you need in your cupboard.


To make your own Jack-O-Lantern lava lamp:


1) Make a face on a stemless wine glass with black electrical tape.


2) Add water and food colouring.


3) Add a layer of oil to the glass.


4) Add an alka-seltzer tablet to the glass, and watch the reaction. 


5) The tablet reacts with the water, and the water and oil don't mix. So, you end up with the orange water bubbles create a cool "lava lamp" effect in the oil.


Check out this this 56 second video. You can see the full reaction at the end. Cool, right?!?


My boys and I have been making DIY lava lamps for years, but I absolutely love this Halloween version. Give it a try, and let me know what you think.


Gina
 (aka East Coast Mommy)


FREE (printable and frameable) Halloween Lyric Print

Don't you love an easy and inexpensive way to add some fun decor to your home? I have the cutest FREE Halloween print for you today. I designed this simple piece of artwork using the lyrics to one of my favourite Halloween songs, and I think it turned out fantastic. What do you think?


Recognize the song? Yes. You guessed it... it's Thriller.


To download and print a copy: click on the picture below, right-click, save it to your computer, and print it like a regular 8x10 picture.


I put my Halloween print in a black wooden frame from the dollar store. It looks really high end beside this dollar store lantern picked up yesterday. You'd never guessed this little vignette only cost a few dollars.


What do you think of the Halloween "Thriller" print I designed? Let me know (in the comments) how you plan to display it in your home.

Happy Halloween!


Gina
 (aka East Coast Mommy)


You might also like the 50+ Halloween Crafts, Recipes, Decorations, and DIYs here.

Simple SOFT & CHEWY Thanksgiving Cookie Tart

I first posted my soft and chewy cookie tart in 2015, and since then, I've modified it several times. You can find my first day of school version here, and my Easter version here. Now... I'm sharing a Thanksgiving themed cookie tart, and it's the best one yet!


To make this easy and impressive cookie tart... start with my favorite soft and chewy chocolate chip cookie recipe (which you can find here). 

Then, scoop out a dozen cookies, and press the rest of the cookie dough into a well-greased tart pan. Press some Fall coloured candy into the top, and bake at 325 degrees for 40-50 minutes. (I used Reese's Pieces.)


Take it out of the oven when the centre is still a bit soft, but the edges are golden brown.


It's delicious at room temperature, but it's even better when you serve it warm.


I love the idea of setting up a self-serve hot chocolate bar too. I made this one using dollar store supplies (including a dollar store frame tray). Check out the details here.


Fun, right?!?


What do you serve for Thanksgiving dessert? Pies are great, but who wouldn't love this simple soft and chewie Thanksgiving cookie tart?


Gina Bell
 (aka East Coast Mommy)


You might also enjoy the Thanksgiving party favours (and free printable tags) here.

FREE Thanksgiving Frameable Print & Party Favour Tags

I love all things "easy and inexpensive"... especially when it comes to the holidays. So, I'm super-excited to share the fun FREEBIES I designed for Thanksgiving. I can't wait for you to check out my free Thanksgiving frameable print AND my free Thanksgiving party favour tags.


First, check out this cute (and funny) Thanksgiving print. I love a bit of "cheeky" decor, don't you?


To download the FREE Thanksgiving frameable print I designed: click on the picture below, right-click, save it to your computer, and print it like a regular 8x10 photo.


This print looks great in a dollar store frame... on its own or beside a decorated tiered tray.


The other FREEBIE I designed for you is this simple party favour tag.


To download the tag I designed: click on the picture below, right-click, save it to your computer, and print it like a regular 4x6 photo.

Then, trim the top of the picture to make it look like a tag.


Bake some cookies, place them in clear cellophane bags, tie the bags with jute twine, and add the tags.

You can use any cookies you like, but my I recommend my soft and chewy ginger cookies. You can check out the recipe for this seasonal favourite here.


And if you want to make something extra special for the kids, you can use the same recipe to make these adorable turkey cookies.

Put the cookies in clear bags, tape faux leaves to the backs, and glue on googly eyes, paper beaks, and paper wattles.


Don't you love these easy and inexpensive Thanksgiving party favour ideas?


Are you going download and print the free Thanksgiving printables I designed? Which one is your favourite?


Gina
 (aka East Coast Mommy)


You might also like the Thanksgiving ideas here.

Don't miss any of the fun....